
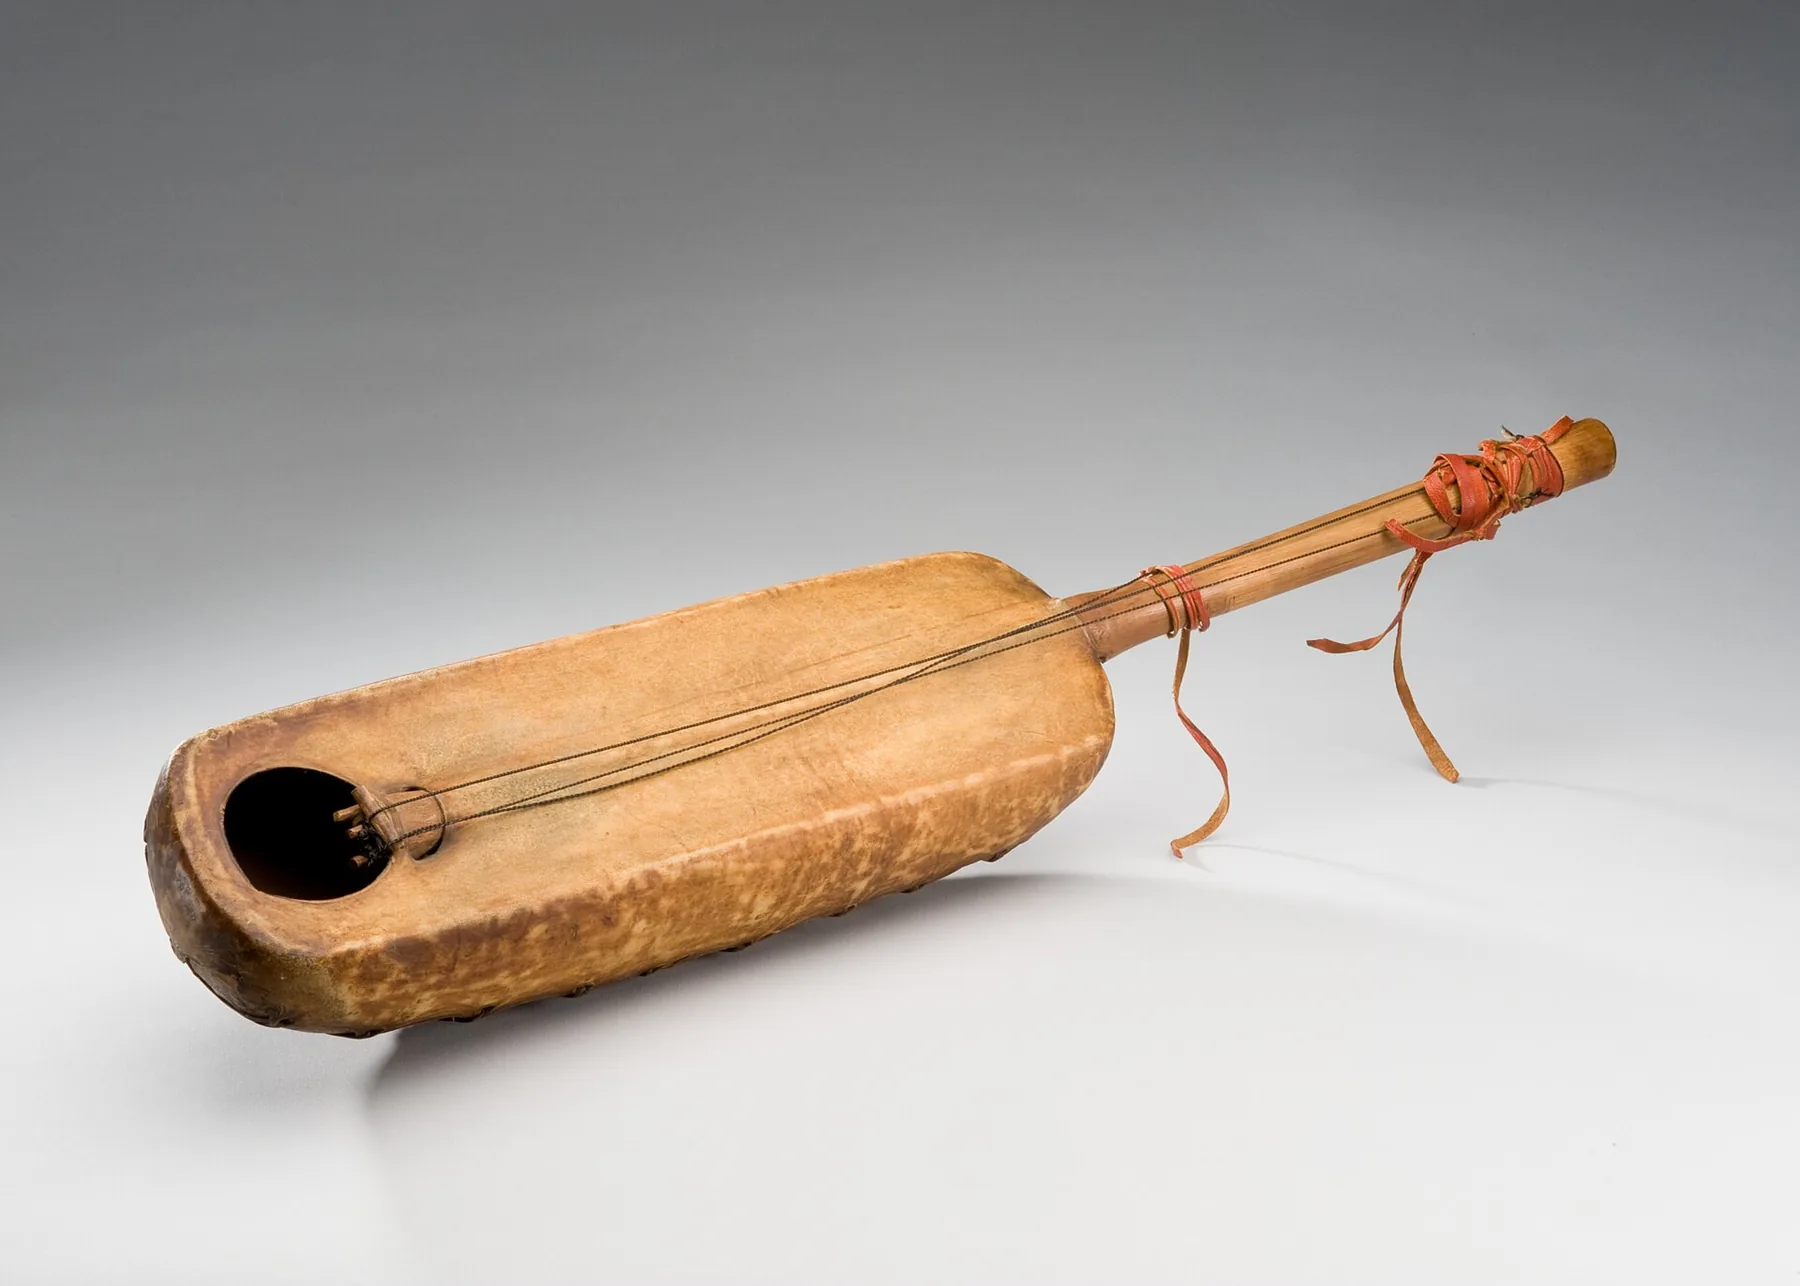
Goal: capture a clean, detailed, natural recording in a home studio without unusual equipment.
Successful recording depends on three connected elements: the instrument, microphone placement, and the room’s response. Aiming the microphone straight at the sound hole often produces too much bass.
In this article, I offer a clear method. We will cover preparing the musician, choosing minimal equipment, reliable mono placements, simple stereo options, and accessible acoustic solutions.
A home studio presents challenges: background noise, untreated rooms, and a single computer. Even so, practical measures can quickly improve a recording.
Proposed method: make short tests, compare them, and adjust repeatedly without getting lost in theory. The advice also applies to most plucked string instruments if you adapt the distance and angle.
Understand what the microphone actually captures: source, room, and reflections
Before applying any EQ, listen to what reaches the capsule.
Source signal: sound begins with the attack of the strings, the resonance of the soundboard, and mechanical noises from fingers and rubbing. These elements determine the balance of bass, mids, and treble. The microphone converts these variations into an electrical signal whose level is measured in dB; dynamics and tone therefore depend on the player’s touch and the body of the instrument.
Why the room matters: the microphone captures more than the instrument. It records the combined sound of the instrument, the air, and the room. In a small or bare room, early reflections quickly color the sound, especially with a condenser microphone.
Early reflections, resonances, and symptoms to listen for
Listening cues:
- Muddy bass or an indistinct boom.
- Bloated low mids that obscure clarity.
- Harsh highs or a boxy sound.
Example: with the same performance, moving the microphone 20 cm or changing its angle transforms the tone. If the bass rumbles, adjust the distance and position in the room before trying to fix the sound in the mix.
| Symptom | Likely cause | Recommended action |
|---|---|---|
| Muddy bass | Close placement and proximity effect (cardioid) | Move back 10 to 30 cm; aim toward the soundboard |
| Bloated low mids | Early reflections from the walls | Change rooms or treat a nearby surface |
| Harsh highs | Capsule too close to the strings or aimed too directly | Move the microphone back slightly and adjust its angle |
To explore the theory and practice further, consult this recording guide.
Prepare the lute and musician for a consistent recording
A good foundation makes every take easier and reduces editing time. Before recording, check both the equipment and playing technique thoroughly but quickly.
Checklist before pressing Record:
- Tune the instrument and check its intonation.
- Look for fret buzz and unwanted noises from nails, rubbing, or tuning machines.
- Keep the playing position and distance from the microphone consistent.
- Plan the piece: know its structure, tempo, and intended expression.
Retune immediately before each take and check the tuning often. Worn strings lose their brightness; new strings go out of tune frequently during their first few hours. Change them the day before or a few hours before the session.

Strings, plectrum, and their effect on the sound
The material and age of the strings change the attack and tone. The plectrum also has a strong effect on attack: record short excerpts while testing different thicknesses and materials.
| Element | Effect on the sound | Recommended action |
|---|---|---|
| New strings | Strong brightness, unstable tuning | Fit them the day before; tune often |
| Worn strings | Fewer harmonics, dull sound | Replace them before an important session |
| Plectrum (thickness) | More attack or a softer sound | Test options and choose one to suit the piece |
Comfort, breaks, and performance
Make sure the musician is relaxed. Staying hydrated, taking regular breaks, and removing distractions help maintain a consistent touch.
Tip: this can also make editing easier if the instrument accompanies a voice or singing. For a complete method, see the pre-recording checklist.
Choose minimal equipment for recording to a computer without compromising quality
A simple, reliable signal chain from the source to the computer improves the recording.
Minimum signal chain: microphone → audio interface (preamp) → computer → software. The interface plays a major role in quality: clean gain, low noise, and stable drivers.
Avoid the computer’s mini-jack inputs. They introduce hiss, do not provide the right impedance or power, and offer little control over gain. A USB interface addresses these problems.
Simple criteria for choosing an audio interface:
- +48 V phantom power if you use a condenser microphone.
- Readable meters for checking the level.
- Direct monitoring without latency for comfortable playing.
- Stable drivers and compatibility with your computer.
To get started, Audacity (Windows) or GarageBand (Mac) is enough to record and make clean cuts. A full digital audio workstation becomes useful for editing, comping, automation, reverb, and panning.
Practical tip: standardize your sample rate and file format, then organize your folders. Good basic equipment makes placement tests reliable and repeatable. For more information, see this practical resource on audio technique: DJ technique and recording.
Microphone placement and distance: settings that can make or break a recording
The microphone’s position directly affects tone. Before applying EQ, change its angle or distance. A small adjustment is often enough to correct an imbalance between bass and treble.

Microphone angle: change the tone without touching the lute
Turning the capsule a few degrees changes its off-axis response. Aiming it toward the soundboard emphasizes attack and some bass frequencies. Pointing it toward the neck reduces low mids and clarifies the harmonics.
Distance and proximity effect: balance detail with room sound
Distance controls the balance between detail and the sound of the room. Up close, you get more attack and less ambience. Farther away, you get a more cohesive sound and more natural reverberation, but less precision.
Proximity effect: moving closer with a cardioid microphone boosts the low mids. The result is an oversized, less defined sound.
Avoid the classic trap: pointing the microphone at the sound hole and getting muddy bass
The sound hole projects strong bass. If the recording becomes muddy, move the microphone to one side, pull it back 10 to 30 cm, or tilt it. Follow a simple procedure: choose a neutral position, change one variable at a time, listen, and take notes.
Recording a lute at home: microphone placement and room acoustics
The area around the twelfth fret is a reliable starting point for recording. Aim the capsule toward the neck-body joint from about 15 to 30 cm away, level with the soundboard. This setup balances body resonance with string definition.
Bridge-side variation
Aiming the microphone slightly toward the bridge softens the attack and reduces some finger noise. The sound gains warmth, but watch the picking hand: it can obstruct the sound if it passes in front of the capsule.
Move back to include the room
Move the microphone back when the room has pleasant ambience and little noise. In a small, highly reverberant or noisy room, stay closer to the instrument to control the low mids.
Short test procedure
- Record 10 seconds of the same passage in each position (A/B/C).
- Label the files clearly and compare them on headphones, then on speakers.
- Change only one setting at a time: distance, angle, or height.
| Position | Effect | Advice |
|---|---|---|
| 12th fret (15 to 30 cm) | Balance of body and strings, controlled bass | Recommended starting point |
| Bridge side | Softer sound, reduced attack | Good for intimate pieces; watch the hands |
| Greater distance | More ambience, less detail | Use when the room sounds good |
How to decide: choose the position that serves the piece, rather than the one that sounds most impressive in isolation.
Stereo techniques for lute: width, natural sound, and phase control
The width of a stereo recording should serve the music rather than show off a technique. Use stereo if the instrument needs to fill the central space in a mix or if you want a more realistic image.
Flexible technique: 12th fret and bridge
Place one microphone toward the 12th fret for definition and another near the bridge for warmth. Pan them moderately or blend the tracks according to the effect you want.
The 3:1 rule and phase
Follow the 3:1 ratio: the distance between microphones should be at least three times each microphone’s distance from the source. This reduces cancellation and preserves bass when summed to mono.
Comparison of methods
| Technique | Characteristic | Practical advice |
|---|---|---|
| AB (omnidirectional) | Wide, highly immersive image | Distance of 15 to 60 cm; requires a room with controlled acoustics |
| XY (cardioid) | Strong phase coherence | Angle of 90 to 120°; ideal for close recording |
| ORTF | Natural stereo sound | 110° and 17 cm; moderate distance of 30 cm to 1 m |
| Mid-Side | Width adjustable during mixing | Cardioid Mid and figure-8 Side; decode in the digital audio workstation |
Recommendation: choose XY for an average room, ORTF if the acoustics are good, or Mid-Side if you want to adjust the width during mixing.
Room acoustics: simple ways to get a cleaner sound
The room you play in affects the sound more than most preamps do.
Choose the right room: favor a furnished room with little reverberation. Avoid bathrooms and kitchens, whose surfaces strongly reflect sound. Stay away from corners and nearby walls; these areas build up bass and make the sound boomy.
Simple test: clap your hands where you intend to play. Listen for a ringing sound, the reverberation tail, and the direction of the reflections. If the sound rings for a long time, the room’s reflections may be troublesome.
Accessible solutions: put down a rug, add a sofa or mattress, and hang a thick blanket behind the performer. Opening a wardrobe full of clothes in front of the microphone creates an effective absorber.
Noise and the computer: move or isolate the computer if you can hear its fan. Close the windows, choose a quiet time, and switch off intermittent noise sources. These steps improve perceived quality more than a plugin.
For more detail, see this discussion of acoustics.
Recording settings and session method: levels, monitoring, and organization
Before recording, check the level, monitoring, and session structure. This simple routine prevents mistakes and saves time.
Setting the gain
Set the preamp while playing the loudest passage. Aim for a comfortable level without clipping, leaving 6 to 10 dB of headroom. Watch the meters during rasgueados and strong attacks.
Headphone monitoring
Use direct monitoring if possible to reduce latency. Balance the headphone volume between the instrument and guide track. A little reverb often makes performing easier, following a principle borrowed from recording the voice.
Recording method and organization
Record in sections such as verse, chorus, and bridge. Limit yourself to four or five takes per section to preserve your energy. Take regular breaks to recover and listen on speakers.
Notes and decisions
Write down each take number, how it felt, and any problems you noticed. This speeds up comping, especially if you also need to record a voice over the accompaniment. If monitoring still feels uncomfortable, lower the guide track rather than increasing the input gain.
| Element | Goal | Quick tip |
|---|---|---|
| Gain | Headroom without clipping | Set it using the loudest passage |
| Headphones | Comfort and minimal latency | Use direct monitoring; balance the guide track and instrument |
| Takes | Quality and energy | Record no more than four or five per section; note the best ones |
First mixing choices to bring out the lute
A simple method keeps technique from getting in the way of musicality. Start by organizing your tracks and quickly identifying the best takes for each part of the piece.
Assemble the best takes: cleanup, fades, and consistency
Comping: select the most convincing phrases and assemble them into a final take. Use labels and your notes to save time.
Clean up noises between phrases, apply short fades, and check that the tone remains consistent between sections.
Tonal balance: overpowering bass and prominent attacks
Start with small corrections. Reduce troublesome low mids with a filter or a precise EQ, without overdoing it.
To control an overly prominent attack, slightly reduce frequencies around 2 to 4 kHz or use gentle compression.
If the bass remains hard to control, remember that better microphone placement during recording is often preferable to drastic correction during mixing.
Stereo and panning: controlled width
Widen the image if the instrument needs to fill the space. Bring it back toward the center if other elements, such as the voice, take priority.
Check mono compatibility after every panning adjustment. Digital audio workstations make this test and quick adjustments easier.
Ambience: controlled reverb
If the room is too reverberant, record close to the instrument, then add a short, natural reverb as an insert. The result will be cleaner and easier to adjust.
Always listen on headphones, then on speakers at a moderate volume. Compare the result with a reference in a similar style to confirm your choices.
For more on recording techniques and digital audio workstation methods, see this resource: recording technique.
Conclusion
Final quality depends above all on a simple, repeatable routine.
Key factors: preparation, short tests, a good room, a reliable audio interface, and a microphone aimed toward the 12th fret often deliver 80% of the result.
Avoid common mistakes: pointing the capsule at the sound hole, recording in an overly reverberant room, leaving corners untreated, setting levels too high, and working through sessions without breaks.
Immediate action plan: test three positions for 10 seconds each, make a few notes, then record in sections. Mark positions on the floor, set a consistent stand height, and use a file-naming method to save time.
Conclusion: keep it simple, listen, measure, and adjust until you capture a take that serves the piece.