

This quick guide lays the groundwork for an informed purchase that will give a delicate instrument such as an oud or lute a faithful sound on stage.
You will learn to compare external microphones, contact microphones and hybrid systems. The goal is to preserve the instrument’s tone while obtaining a usable level in the mix.
On stage, these instruments project less sound than a guitar. A capsule placed in front of the soundboard is not always enough, especially with loud monitors and the risk of feedback.
The main trade-off: tonal accuracy versus resistance to feedback. Make your decision in four steps: musical setting, pickup method, preamp/DI chain, then settings and placement.
Some systems require a modification to the saddle or the addition of an output jack; others are reversible. Specific options include the AKG C411L, Schertler, the SM57 and LR Baggs hybrid systems.
For a practical option and a model that has been tested, see the Prodipe GL21.
Why a lute is difficult to amplify on stage
Its limited projection makes capturing its sound more difficult than capturing a guitar. Its sound is often less balanced between low and high frequencies. Softer transients can disappear behind drums or bass.
Monitors and stage volume are the main obstacles. As the level of stage monitors or side fills rises, so does the risk of feedback. Some natural character is then sacrificed for a tighter, more stable sound.
Practical effects on sound capture
The need for gain before feedback favors a narrow pickup pattern and precise placement. A standard dynamic microphone can reach its limits with a quiet oud, as a professional forum points out.
Define your musical setting
Before buying, decide whether you play in an acoustic duo, an ensemble with light percussion, or a band with bass and drums. Each setting calls for a different balance between fidelity and stability.
| Setting | Main problem | Practical response |
|---|---|---|
| Small stage / duo | Other instruments are quiet; few monitors | Prioritize musicality and tone; place the microphone in front of the body |
| Stage with monitors | High volume and feedback risk | Favor contact microphones or a very narrow pickup pattern |
| Rhythm section | Bass and drums mask the instrument | Increase the level with a pickup and use targeted EQ |
Quick guide: if musicality matters most, prioritize sound quality. If you need to remain audible without feedback, prioritize stability.
For firsthand experiences and practical examples, see this discussion: amplifying an oud / oriental lute.
Options at a glance: microphones, contact microphones and pickups
Every option involves a trade-off between musicality and stage stability. The three main types are airborne microphones, attached contact microphones and piezoelectric pickups.
Airborne microphone in front of the body
Sound: rich harmonics and depth. For front-of-house sound, this remains the benchmark for tonal quality.
Limitation: sensitivity to monitors and stage volume. In a dense ensemble, this approach can become unstable.
Attached contact microphone
Easy to install and fairly resistant to feedback. It captures vibrations and gives a direct attack.
It often needs EQ and a suitable preamp to restore warmth.
Piezoelectric pickups and transducers
These provide a strong signal and excellent stability. Attacks are pronounced, but the tone can seem drier.
Hybrid systems
Combining a pickup with an airborne microphone provides both level and tonal character. It is a common solution in larger ensembles.
- Examples: Schertler or electrodynamic microphones attached to the body for front-of-house sound.
- Feedback resistance: options such as the SD Systems LMC100C help in difficult conditions.
- Compatibility: some pickups are reversible; others require changes, such as adding an output jack or modifying the saddle.
Goal: choose the right solution or combination for your needs instead of seeking one universal answer.
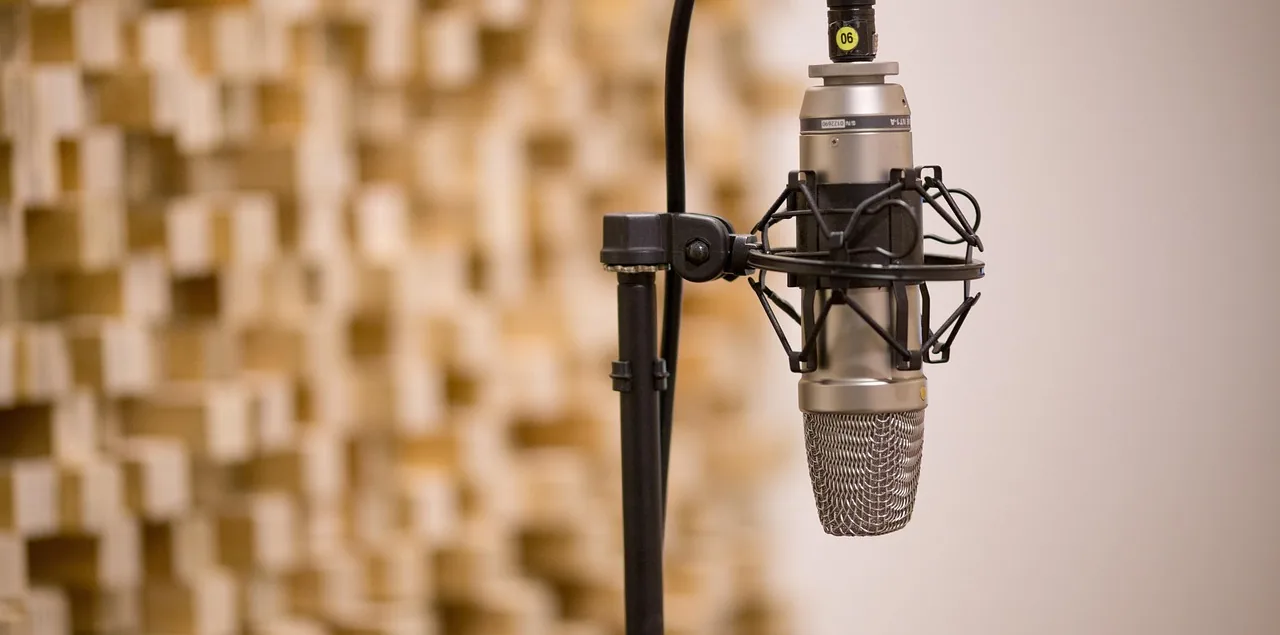
Lute microphone: capturing a natural sound on stage
The main challenge on stage is to preserve the instrument’s character while maintaining a stable level.
For a musician, “natural sound” begins with faithful tone, preserved dynamics and harmonics that do not sound harsh.
In other words, notes should retain their body, attacks should stay lively, and harmonics should add warmth without becoming shrill.
When to prioritize stability over fidelity
In rehearsals or on stages with loud monitors, stability takes priority: a consistent level, low feedback risk and easier mixing.
Rule of thumb: if the drums or bass drown out the instrument, sacrificing a little nuance is preferable to losing a usable signal.
Set the right goal for the stage
For the audience, the ideal front-of-house sound remains detailed and close to a studio recording. For the musician, the monitor mix chiefly needs clarity and comfort.
For example, aim for a consistent, usable sound in the mix with a loud band, or seek a studio-like but more delicate sound on a small acoustic stage.
Recommended mixing approach: rely mainly on the pickup in the monitors and favor the airborne microphone out front when conditions permit.
To explore a tested model suited to various uses, see the Prodipe GL21, which may work well depending on its use and the room’s volume.
The selection criteria that really matter
Technical criteria determine the balance between fidelity and practicality in concert.
Pickup pattern and rejection
Cardioid and hypercardioid patterns help control feedback. Keep monitors outside the microphone’s sensitive area and use its rear rejection to gain more level before feedback.
Frequency response
Look for a balanced response: enough treble to preserve a sense of air, without excessive upper mids that make the sound harsh.
Allow for stage EQ to correct a sound that is too flat or too bright.
Output level and noise
A strong output and low background noise make mixing easier. They reduce the need for excessive compression and help preserve dynamics.
Power
Some systems require 48 V phantom power; others use a battery or a dedicated preamp.
For example, the VS-3CAP comes in phantom-powered and battery-powered versions, with up to 36 hours of operation. The Prodipe BP21 uses a 9 V battery in place of phantom power for the Series 21.
Installation and care of the instrument
If you do not want to drill into the instrument or modify its saddle, choose a reversible system that can be attached or temporarily adhered.
Budget and value
Choose between a functional model and professional equipment according to how often you perform. Most problems involve the whole signal chain: pickup type, preamp, placement and monitors. No single model solves everything.
| Criterion | Effect | Advice |
|---|---|---|
| Pickup pattern | Feedback reduction | Cardioid or hypercardioid, depending on monitor placement |
| Frequency response | Tone | Use EQ and avoid harsh upper mids |
| Power | Reliability | Choose phantom power or a battery to suit the setup |
A closer look at contact microphones: the easiest option to stabilize on stage
An attached microphone is often the most reliable choice when the stage gets loud.
Why this compromise works: a contact microphone resists feedback better than an airborne microphone and generally sounds more faithful than an entry-level piezoelectric pickup.

A well-regarded example
The AKG C411L attaches near the bridge with a dedicated mount that does not damage the finish. Its stated frequency range of 10 Hz to 18 kHz easily covers the instrument’s needs.
It requires its own power source: the AKG B29L runs on a 9 V battery, includes a preamp and provides an XLR output to the mixing desk.
Placement and use
Move the attachment point slightly to find the best position. Listen for the balance between bass and treble, then secure it without marking the soundboard.
Mono, stereo and limitations
Two pickups can balance the front-of-house sound, but make phase and gain harder to manage. Typical limitations are a more direct sound, less air, and a need for EQ and a good preamp.
Practical advice: start with one contact microphone and stabilize the level; add more pickups only if the situation warrants it. A 9 V battery supply is useful when the mixing desk cannot provide power.
Using an external microphone for a “studio” sound on stage
An external microphone often captures the texture and dynamics of a recording, but it needs favorable conditions.

SM57-type dynamic microphone: durability and limitations
The SM57 is dependable and widely available. It handles high levels and stands up well to use.
Its sensitivity may be insufficient for a quiet instrument, however. Raising the gain too far increases the risk of feedback.
Hypercardioid condenser microphone: more detail and better rejection
Hypercardioid condenser microphones offer more treble detail and warmth.
One example musicians mention is the hypercardioid Oktava MK-12, which often produces a studio-like result.
The SD Systems LMC100C helps reduce feedback around monitors.
Placement in front of the body: distance, angle and consistency
As a starting point, place the microphone 10 to 30 cm away for a strong signal, or farther away for more air.
Angle it slightly toward the soundhole to soften overly bright attacks.
Listen to the front-of-house sound before applying EQ, and note the best position for the room’s volume.
| Option | Strength | Limitation |
|---|---|---|
| Dynamic microphone (SM57) | Durable; relatively insensitive to handling noise | Less sensitive; high gain increases feedback risk |
| Hypercardioid microphone | Detail and good rejection | More sensitive to placement |
| Hybrid system (pickup and microphone) | Stability and tonal character | Requires phase and mix management |
In short: an external microphone can deliver a studio-like sound, but the result depends heavily on placement, volume and monitors. Always test it under real performance conditions.
Preamp, DI and power: preserving sound quality
The combination of pickup and preamp determines signal clarity and gain headroom. A good preamp matches impedance, raises the signal level without adding noise, and provides a stable XLR output to the mixing desk.
Why a preamp makes a difference: with a piezoelectric pickup or contact microphone, it provides more headroom before distortion, more effective EQ and a consistent signal for the sound engineer. The result is less distortion and better-preserved dynamics.
Power is essential too. Many systems use 48 V phantom power when the mixing desk provides it. Otherwise, a battery offers a dependable independent supply.

Practical options and a recommended signal chain
A simple, effective chain is pickup → preamp/DI → mixing desk. Set the gain, engage a high-pass filter if needed, and add a little presence.
For example, the VS-3CAP comes in a 48 V-powered or rechargeable version, with 36 hours of operation. The Prodipe BP21 and AKG B29L run on a 9 V battery and provide an XLR output when the mixing desk lacks phantom power.
Reducing noise and managing level
Use shielded cables, check grounding and leave 6 to 10 dB of headroom before clipping. DI boxes can isolate ground loops and reduce noise.
| Component | Benefit | Practical advice |
|---|---|---|
| External preamp | Better impedance matching and clean gain | Set the gain to avoid clipping |
| Phantom power | Simple solution with a mixing desk | Check that the desk supplies 48 V |
| Battery | Independent power and reliability | Bring a fresh spare battery |
| DI box / isolation | Less hum | Use a DI box for long cable runs |
Pre-show checklist: charged battery, tested XLR output, available gain headroom and a backup if phantom power is unavailable.
Which system suits your playing situation?
Every performance setup calls for a balance between musicality and feedback resistance.
Small acoustic stages:
Choose an airborne microphone if monitor levels are under control. A condenser or hypercardioid microphone will provide more air and detail.
Position it 10 to 30 cm away, adjust its angle and test it under performance conditions to avoid harsh treble.
Rhythm section (bass, drums, percussion):
In a dense ensemble, a piezoelectric or soundboard pickup becomes almost essential. It supplies the level and stability needed for the instrument to cut through the mix.
Greg, a professional musician, confirms: “In a large band, there’s no choice → a soundboard pickup.” Musicians often mention Schertler.
Large stages and loud monitors:
Prioritize narrow pickup patterns and feedback-resistant solutions. Contact microphones and dedicated preamps reduce problems caused by stage monitors and side fills.
A combination recommended by professionals:
a pickup for level and an airborne microphone for front-of-house sound. Blend the two sources: use mostly pickup in the monitors and the airborne microphone out front for tonal character.
As an example, use 70% pickup and 30% airborne microphone with a rhythm section, or 50% of each in a small venue.
Studio and recording:
In the studio, an airborne microphone remains the reference for a sense of space and a natural sound image. The pickup can supplement the attack or serve as a backup.
| Setting | Recommended solution | Note |
|---|---|---|
| Small venue | Airborne microphone | Careful placement and moderate monitor levels are essential |
| Band with rhythm section | Pickup or piezoelectric transducer | Stability and level in the mix |
| Large stage | Pickup and narrow pickup pattern | Prioritize rejection and feedback resistance |
| Studio | Airborne microphone and pickup | Natural sound image, with the pickup for support |
Practical advice: begin with a stable solution, such as a contact microphone, then add an airborne microphone if the sound setup and stage volume permit. To compare the technical options, see this microphone comparison guide.
Conclusion
The best option is the one that fits your stage setup and priorities.
Three solutions stand out: an external microphone for a studio-like sound, a contact microphone for a middle ground, and a piezoelectric or other pickup for stability and level. A hybrid system combines their strengths when the sound setup allows it.
In practice: with high volume and loud monitors → prioritize stability. When playing acoustically with few other instruments → prioritize fidelity. Between those settings → choose a contact microphone or hybrid system.
Remember: improvements mainly come from the whole chain—sound capture, preamp/DI, placement and monitors—not just the price of the equipment.
Buying strategy: first choose reliable power and a preamp, then improve the tonal character with an additional microphone. One realistic approach is to use a contact microphone to stay audible everywhere, then add an airborne microphone out front when the sound setup permits.
Things to check: installation requirements, care of the instrument, budget, and your goals for front-of-house sound, monitors and studio use. Also assess the acoustic quality before buying.