
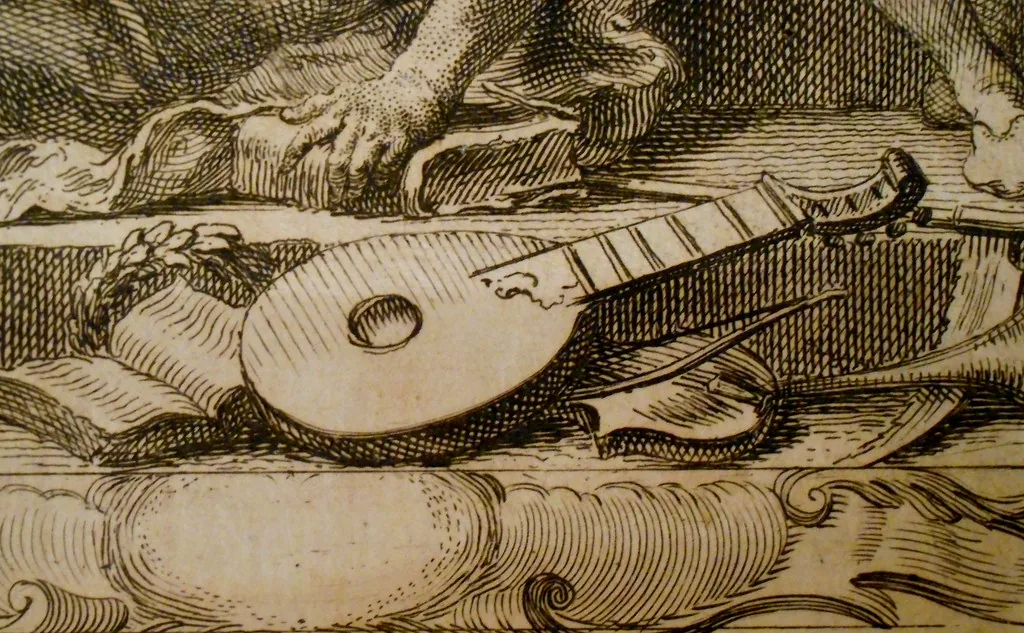
This guide makes notation based on the fingerboard accessible. It explains how to identify strings, find frets and use a practical system to learn pieces. The approach stays musical and focused on playing.
You will learn to recognize a tablature system, find your way around the strings and read rhythmic values when they are shown. The aim is not to study theory exhaustively, but to develop a practical way to read and write down your ideas.
A clear progression: understand the instrument and its tuning, identify national variants, read numbers and letters, then add rhythm and hand techniques.
Useful for beginners and players coming from the guitar alike. For more help, see a step-by-step tutorial on how to read tablature.
Why lute tablature lets you play without reading music
A visual representation of the fingerboard turns reading into a concrete action. Follow a practical sequence: string → fret → play. This approach removes the need to name every pitch.
Each line represents a string or course. A sign, letter or number indicates which fret to press on the fingerboard. Reading becomes a matter of position rather than theory.
Compared with sheet music, this approach mainly records the action and its location. Standard notation specifies pitch and duration in a way that applies across instruments.
- Strengths: quick to learn, effective for reproducing a piece and useful for recording an idea without knowing note names.
- Limitations: rhythm is often missing, interpretation is incomplete and the notation is less transferable to other instruments.
- Next: we will see how rhythmic markings, sustained notes and fingering help address these gaps.
| Aspect | Advantage | Solution |
|---|---|---|
| Learning | Quick and visual | Short lessons and practical methods |
| Precision | Exact position on the string | Add rhythmic markings |
| Compatibility | Immediate for a solo instrument | Use standard notation when sharing music |
Understand the lute before reading tablature
Knowing which strings to pluck turns signs into clear actions.
Courses and individual strings describe what you see on a line and what you touch on the instrument. A course can contain several strings; an individual string is plucked to produce a note. This distinction helps you decide whether to pluck several strings or just one.
How positions work
The notation shows actions: press a string at a specific fret. It is a sequence of instructions for the left hand, not a list of note names.
The first course and the bass-to-treble orientation
The first course is the highest-pitched string or course. Depending on the system, it may appear at the top or bottom. Before you begin, find the treble end, then count the strings toward the bass.
- Five or six lines: adapt to the format shown.
- Simple method: find the treble end → identify the outermost string → count toward the bass.
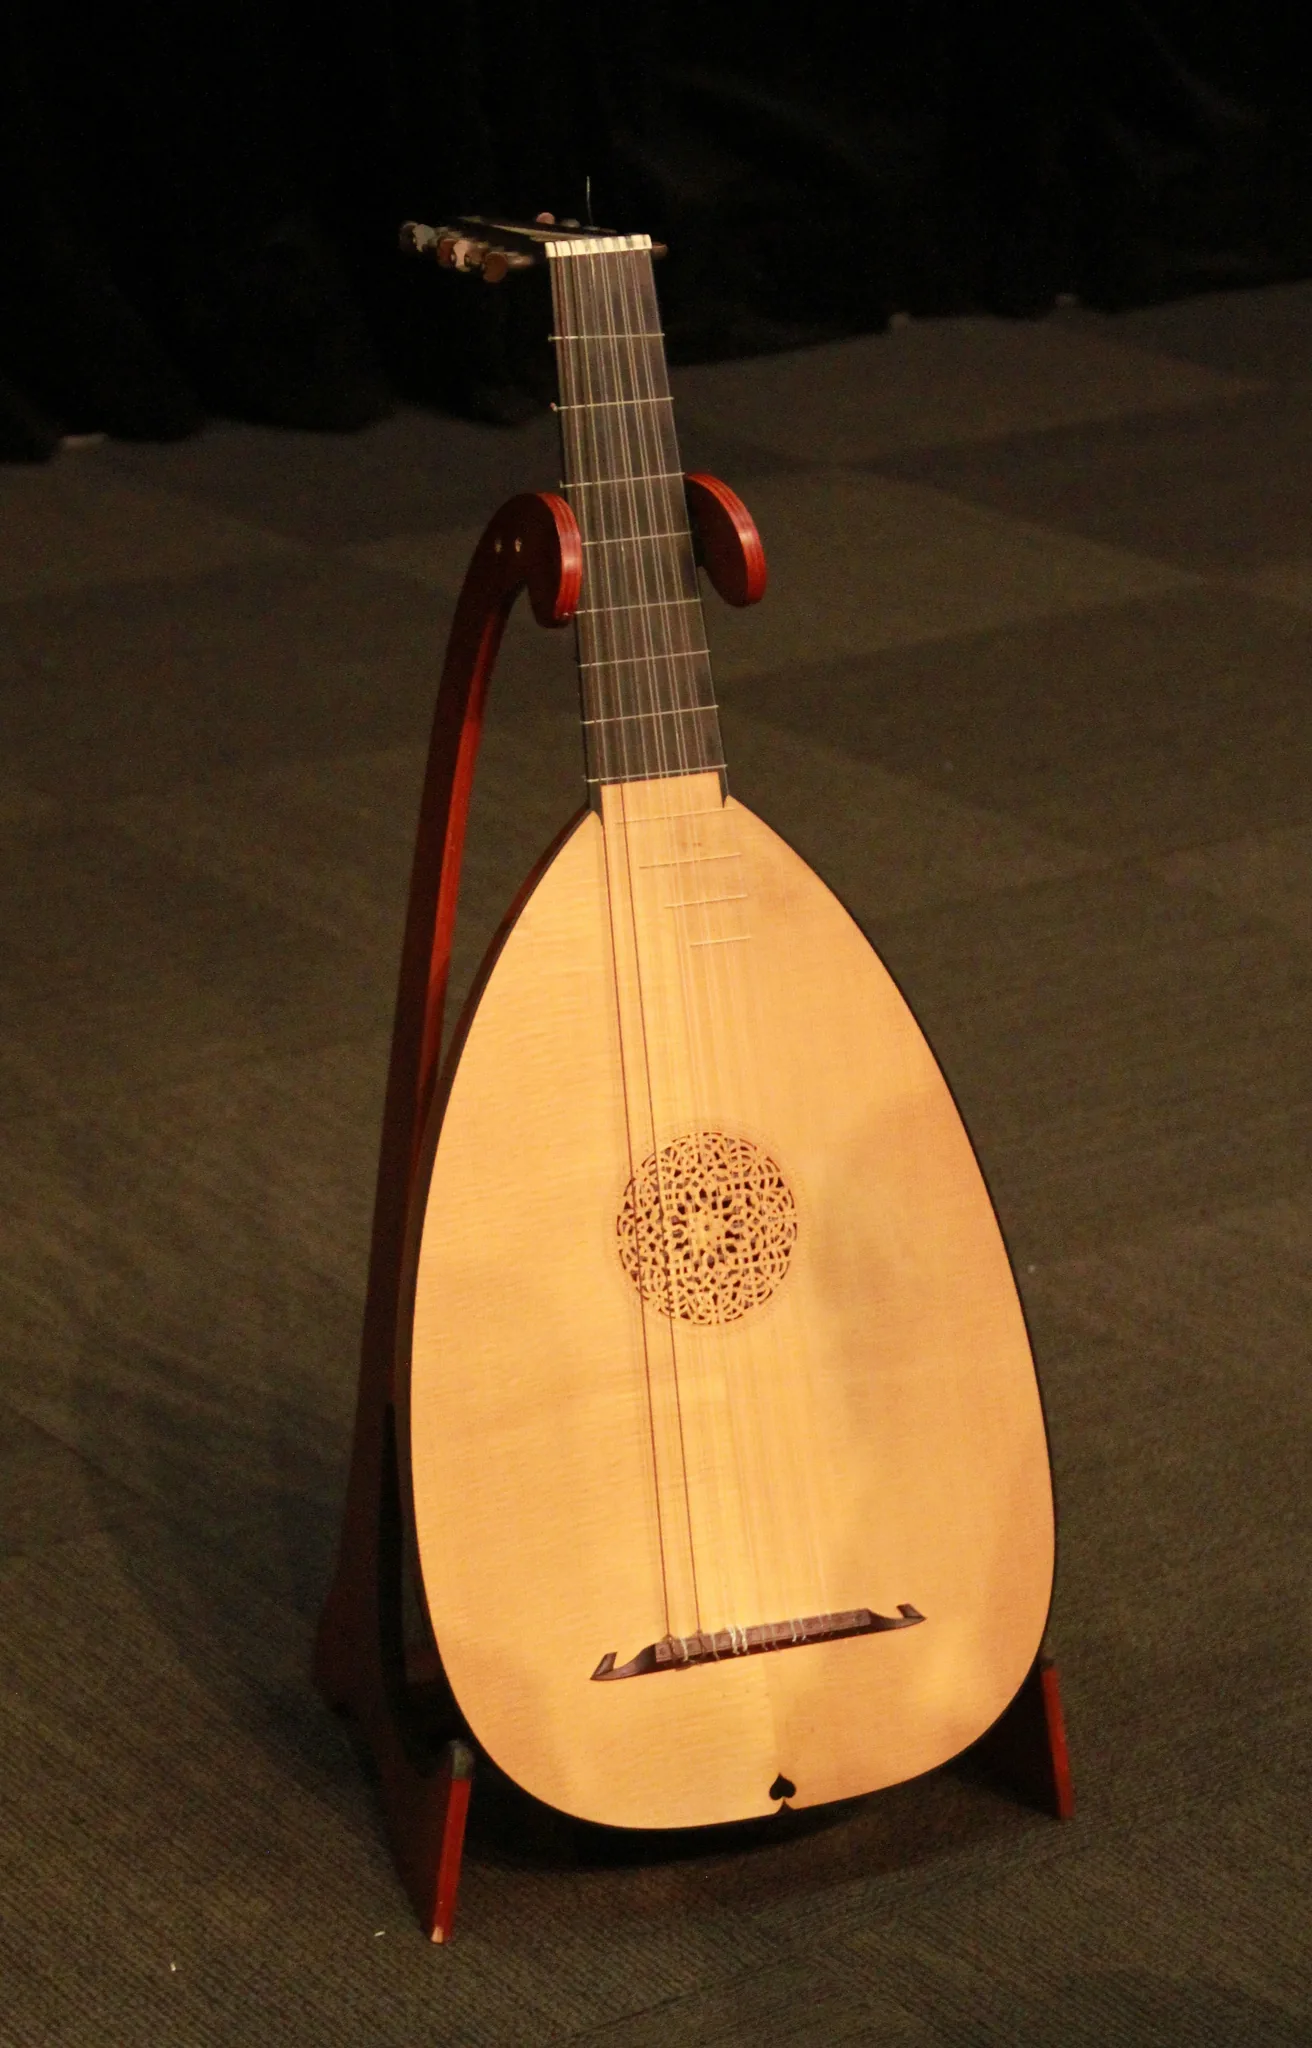
This orientation changes how you picture the fingerboard. Confusion often comes from mixing up the treble and bass ends. Once you have clarified that point, reading numbers and letters becomes faster. To learn more about the instrument’s history and shape, see this useful article on the lute and mandolin.
Lute tuning and what it means for reading
Before reading, identify the tuning: it determines the pitch of each string.
Common tuning (low to high): G C F A D G. This tuning often appears in widely used sources because it suits much of the early repertoire.
Period variants and additional basses
Additional bass strings appear according to the period and the piece. They change how you locate low notes and require adjustments before you begin.
Soprano, alto and bass variants
The pitch of the first course changes with the instrument’s size: soprano (first course in C or D), alto (first course in A) and bass (first course sometimes in E or D). These differences explain why some scores appear to sit in a different register.
A tip for guitarists
To think in a guitar-like tuning, use E A D F-sharp B E (with the third string lowered by a semitone). This lets a guitarist play much of the Renaissance repertoire without a capo. As a rule, a capo is not required, except for comfort or to extend the usable range of the fingerboard.
Recommended routine: check the tuning, locate the first course, then check the open first string to confirm its pitch before starting the piece.
The main tablature families: French, Italian and German
Three main styles of representation reflect different historical practices.
These systems developed for straightforward reasons: national traditions, publishing conventions, local teaching methods and the ways music was passed on in each period. Each region retained its own approach.
Features of each family:
- French: letters on the lines, with the first course at the top.
- Italian and Spanish: numbers, with the orientation reversed and the first course at the bottom.
- German: distinctive signs, with one symbol for each fret position.
A quick visual check helps identify them. If you see the letters a, b or c, think of French tablature. If you see 0, 1 or 2 and the treble end is at the bottom, think of Italian or Spanish tablature. Symbols that are neither letters nor numbers point to the German tradition.
The same piece may appear in several notations. The key skill is reading the system itself: identify it before trying a note to avoid mistakes.
| Family | Feature | Orientation |
|---|---|---|
| French | Letters | First course at the top |
| Italian and Spanish | Numbers | First course at the bottom |
| German | Signs for fret positions | Varies by edition |
Next: we will start with French tablature, the most common, then turn to Italian and German tablature.
Read French tablature: the most common system
French tablature emphasizes position; its notation guides the action rather than naming the notes.
The lines: five or six lines representing strings
A system usually shows five or six lines. Each line corresponds to a string or course.
When only five lines are present, the sixth string is often marked below the fifth. Always count from the first course to avoid mistakes.
The first course at the top: how to orient yourself
Find the treble end first. The first course sits at the top of the tablature staff. Then move downward to locate the bass strings.
This simple method reduces the orientation mistakes beginners often make.
Letters on or between the lines: the general principle
Each letter indicates which fret to press on the string at that position. A letter on a line means you play the corresponding string.
Sometimes a letter sits between two lines because the editor has chosen a different typographic position. The underlying principle is the same.
Example: the letter “c” on the second line indicates a fret on the second string. Tablature records the action, not the name of the note.
Coming up: learning the letter alphabet will make reading more fluent.
The French tablature alphabet: letters, frets and common pitfalls
Mastering the alphabet speeds up reading on the tablature staff. Start with one simple reflex: a = open string. This reference point confirms the line and orientation before you interpret anything else.
a = open string: the basic reference point
Remember that a means an open string. Check it before starting a phrase. This helps prevent confusion about direction and register.
b, c (or r), reversed “d”: identify the first frets reliably
b indicates the first fret, c (sometimes written r) the second, and a reversed d the third. The typographic form of the d is distinctive: its rounded stem curves to the left.
If c and r look alike in a particular typeface, check the melodic context: the sequence on the string should make sense.
The missing j and the extended alphabet
The letter j was left out to avoid confusion with i. The sequence therefore moves from i to k. Beyond k, the signs indicate a high register that may be uncommon in older sources.
A practical tip
Memorize the letters a through f, which correspond to frets 0 through 5, as your basic alphabet. Keep the letters that indicate frets distinct from fingering or articulation marks.
Read rhythm in lute tablature
First, identify the sign that indicates duration. Look for the “flags” above the lines: they show rhythmic values visually. These signs tell you when the right hand should pluck and how to divide the beats.
Where to look and how to match the signs
Always look at the stroke above a group of letters or numbers. Match that group with its rhythmic symbol before finding the left-hand position.
Historical pitfalls and how to check
Be careful: in some older sources, an eighth note may be written with a sign that looks like a modern quarter note. Reading it as you would today could make you play twice as fast.
“Beat time slowly, sing the pulse, then align the notes with the strong beats.”
- Check the duration by counting the beat aloud.
- Sing the pulse to place each note’s start.
- Compare repeated patterns and cadences to work out incomplete passages.
| Aspect | Action | Tip |
|---|---|---|
| Locating signs | Look above the lines | Match the group to its symbol before positioning the left hand |
| Historical values | Check whether durations are doubled | Count slowly and adjust the tempo |
| Resources | Compare with scores or recordings | Use a lesson or reference recording |
In short: understanding rhythmic notation improves the music even if you do not read standard notation. A simple check of the beat prevents reading errors and makes a performance more convincing.
Identify notes played together, sustained notes and articulations
Recognizing simultaneous and sustained notes helps you decide what should keep ringing.
Vertical stroke: chords and preparation
A vertical stroke connecting several letters indicates that they sound together: play several strings at once. Prepare the left hand as you would for a chord, position your fingers before plucking and make sure each note sounds cleanly.
Diagonal stroke: sustain the note
A diagonal stroke after a letter indicates a sustained note. If its duration is not repeated, let it ring while controlling the resonance so you do not cut it off too soon.
When signs are missing: work out the intention
These marks are often absent. Listen to the natural resonance, consider the harmony and choose fingering that makes sustained notes easier. Notice where the bass and melody sound together to decide what should continue ringing.
- Quick method: look for vertically stacked signs → test whether a bass note can ring → favor stable fingering.
- Example: hold a bass note while the treble line moves, even without an explicit sign.
Articulation: the notation indicates where to play, but the performer decides how to pluck, sustain and connect the notes to create musical phrasing.
Right hand: understand the fingering marks
The signs accompanying the letters guide the right hand. They specify which finger plucks and how to shape the pulse.
Common symbols: a small vertical stroke beneath a letter indicates the thumb; one dot, the index finger; two dots, the middle finger; and three dots in a triangle, the ring finger.
These marks are not used consistently by every editor. When they are missing, choose the fingering that makes the phrase clearest.
The thumb and its role
The thumb anchors the bass. The vertical stroke helps identify bass attacks and keeps chords steady.
Index, middle and ring fingers
Read the signs directly: one dot → index finger, two dots → middle finger, three dots in a triangle → ring finger. The ring finger often helps with chords or added notes.
Strong beats and alternation
A practical rule: play strong beats with the thumb or middle finger and weak beats with the index finger. This creates an audible alternation between strong and weak beats.
For fast passages: alternate thumb and index finger to keep the pulse even, including on the first course. Guitarists can adapt by alternating thumb and middle finger if needed.
| Finger | Symbol | Function |
|---|---|---|
| Thumb | Vertical stroke | Bass attacks and sustained chords |
| Index | One dot | Weak beats and a light melody |
| Middle | Two dots | Strong beats and accents |
| Ring | Three dots in a triangle | Additional chord notes |
Practice exercise: in one measure, mark beats 1 and 3 with the thumb or middle finger and beats 2 and 4 with the index finger. Begin slowly, then speed up without losing an even pulse.
Left hand: place your fingers effectively on the fingerboard
Thoughtful fingering turns difficult stretches into reliable movements.
Choose logical fingering: favor stability. Keep fingers ready for notes that sound together. Limit unnecessary movement to avoid tension and misplaced attacks.
Choose according to fret and string
Some choices help sustain chords; others make the melody flow. At a lower fret, place a finger to support a sustained note. At a higher fret, choose a position that frees the ring finger for quick changes.
Anticipate stretches and changes
Read one or two fret positions ahead to prepare the move. If the tablature calls for a wide stretch, choose between stretching a finger, moving the whole hand or using an open string if it sounds better.
Practical routine: isolate a difficult measure, identify the strings involved, then repeat the passage while trying three fingerings. Choose the one that avoids tension and makes the right-hand part easier.
How this relates to chords: good left-hand placement helps notes sound together and keeps attacks clear. Think in terms of positions rather than a single finger so that each voice stays in place.
| Situation | Recommended choice | Advantage |
|---|---|---|
| Melodic passage at lower frets | Move the whole hand | Cleaner notes and fewer stretches |
| Sustained chord with another voice | Keep some fingers in place and free another | Clear sustain and precise right-hand attacks |
| Occasional wide stretch | Try a stretch or an open string | Keep the music flowing without strain |
To explore right-hand technique and other methods further, see resources on guitar technique and improvisation.
Read reversed Italian or Spanish tablature without confusion
Before reading a tablature staff, check where the treble end is to avoid mistakes.
Main pitfall: Italian and Spanish editions reverse the orientation: the first course is at the bottom. This is the opposite of French tablature. Identify the treble end before you begin.
Read the numbers
Positions are shown with numbers. 0 indicates an open string, 1 the first fret, 2 the second and so on. Guitarists can often read this system quickly because numbers on lines are familiar.
Melody and chords
Read a melodic sequence horizontally along the string. Numbers aligned vertically indicate a chord: place several fingers at once. Keep the reversed order of the lines in mind.
Special case: Luys Milán
Be careful: some sources, such as those by Luys Milán, use numbers but keep the first course at the top. Do not assume that numbers automatically mean Italian or Spanish tablature.
Quick examples: numbers with the first course at the bottom suggest Italian or Spanish tablature; numbers with it at the top call for a check to see whether the source is by Milán or is a modernized edition.
| Element | Check | Action |
|---|---|---|
| Orientation | First course at the bottom or top | Confirm before playing |
| Signs | Numbers | 0 = open string, 1 = first fret |
| Chords | Aligned numbers | Place fingers simultaneously |
Checklist: orientation → string → fret → rhythm and sustain, if shown.
German tablature: its principle and how to approach it
German tablature uses a distinct sign for each fret position.
Each symbol points to a specific position on the fingerboard. This changes how you read: you recognize shapes rather than work out positions from an alphabet.
One sign per position: why this is more demanding
The mental load is greater because you cannot always work out the position from the sign.
You must memorize the link between each sign and its fret on every string used.
Memorize the fingerboard: a beginner’s routine
Start with the first few frets. Learn five signs a day. Make a visual reference sheet matching each symbol with its fret and location on the fingerboard.
Practise with a short piece, reading slowly. Check regularly against an open string to avoid shifting to the wrong fret.
Then add the rhythm gradually.
A realistic goal: understand the system well enough to work through a short piece.
Fluency will come with repetition and regular use of visual methods.

- Learn the first positions before moving on.
- Make a reference sheet matching signs to frets.
- Practise reading slowly and check against an open string.
| Element | Action | Expected result |
|---|---|---|
| Memorization | Five signs a day | Gradual recognition |
| Checking | Open strings and simple positions | Avoiding position errors |
| Rhythm | Add after learning the positions | More musical playing |
Connect lute and guitar tablature to learn faster
Imagining the “fingerboard resting on your knees” provides a bridge between two related instruments. For many players, it makes reading less intimidating.
The six lines and the “fingerboard on your knees” orientation
On the guitar, six lines show the strings E, A, D, G, B and E. The bottom line corresponds to the lowest-pitched string; the top line to the highest.
From 0 to 24: fret positions at a glance
The numbers run from 0 to 24: 0 indicates an open string, while every other number indicates its corresponding fret. This simple rule makes reading quick.
Aligned numbers: chords and strings to leave unplayed
Numbers aligned vertically mean you play the notes together to form a chord. If no number appears on a string, do not pluck it.
- Common trap: do not automatically pluck every string; follow the numbers.
- The same habit helps you understand numbered lute tablature, but always check the tuning and register.
| Element | Action | Result |
|---|---|---|
| Orientation | Check which line represents the treble string | Avoid reversing the strings |
| Numbers | 0 = open string; every other number = its corresponding fret | Immediate reading |
| Chords | Aligned numbers | Place several fingers together |
A practical bridge: guitarists can use their existing reading habits, then adjust for the tuning, orientation and historical symbols. To compare instrument families, see this guide to string instruments.
Lute tablature: read, write and play without reading music
This section offers a concrete way to turn notation into music. The aim is simple: build a practice routine for reading, quickly writing down ideas and coordinating your hands.
Read: a simple repeating sequence (string → fret → rhythm)
Repeat three steps. First, identify the target string. Next, find the indicated fret. Finally, check the rhythm, or work it out, before playing.
Tip: identify sustained notes and notes played together before plucking so you do not cut them off unintentionally.
Write: record a musical idea without knowing note names
Write down the melody on one string first. Then add the bass and, finally, the chords or notes played together. This method lets you recover the positions without knowing the note names.
Keep it simple at first: a clear line helps you find the action quickly when you play the idea again.
Play: coordinate both hands for a musical result
Prepare the left hand. Decide which right-hand finger will pluck and how firmly.
Work slowly: isolate the rhythms, string crossings and chords. Then combine them, gradually increasing the tempo.
| Action | Procedure | Expected result |
|---|---|---|
| Repeated reading | String → Fret → Rhythm | Confident, even playing |
| Quick writing | Melody → Bass → Chords | An idea recorded and its actions repeatable |
| Practice | Isolate → Repeat → Combine | Greater fluency and musicality |
Write your own lute tablature clearly
Begin by setting simple rules: choose one system and use it throughout the piece. Consistency prevents mistakes when musicians share the notation.
Layout: draw clear lines, space the signs evenly and add measure markers. Use the same forms for letters or numbers throughout the document. A heading should state the tuning and the orientation of the first course.
Show the rhythm
Where possible, show rhythmic values with simple flags or strokes above the signs. Even minimal rhythmic information reduces ambiguity and helps another performer read more quickly.
Mark chords, sustained notes and fingering
Use a vertical stroke to show notes played together. Mark a sustained note with a diagonal stroke or a duration. Add right-hand fingering only when it genuinely helps: in fast passages, at accents or where a technical solution is needed.
Editing rule: favor clarity over completeness. Readable notation lets a performer recreate the music. A simple, consistent layout is better than a crowded, illegible one.
Common mistakes and tips for reading quickly
Before playing, examine the characters to avoid confusion.
Common typographic mix-ups
The letters c and r can look alike. Compare several examples on the same page to recognize the expected shape.
The reversed d has a distinctive outline: memorize it like a pictogram. Misreading it shifts the whole position.
The letter “j” is often absent. If you think you see one, check whether it is a poorly printed i or a k.
Orientation and values
Before the first measure, check whether the first course is at the top or bottom. This prevents you from reversing the strings.
For rhythm, watch out for historical values: an eighth note may be written like a quarter note. If everything seems too fast, count the beats slowly again.
How to avoid mistakes and read quickly
- Find the orientation → check an open string.
- Scan the page to recognize the shape of its characters.
- Work in patterns: reread the same sequence several times.
- Research the edition briefly if something seems inconsistent.
Tip: run through this procedure once or twice before playing. It often prevents reading mistakes and saves time.
Conclusion
Remember the key actions that turn notation into immediate practice.
Summary: identify the system, locate the first course, decode letters or numbers and add rhythm when it is shown. Account for sustained notes and notes played together to make the result musical.
Tablature remains a quick route into music. It makes the instrument more approachable and helps you learn a piece faster.
For ensemble playing, however, standard notation retains an advantage. Check the tuning: for a practical guitar adaptation, try E A D F-sharp B E to approach much of the repertoire from the guitar.
Recommended practice: choose a short piece, follow the string → fret → rhythm sequence, then add fingering and sustained notes. This method supports steady progress.