
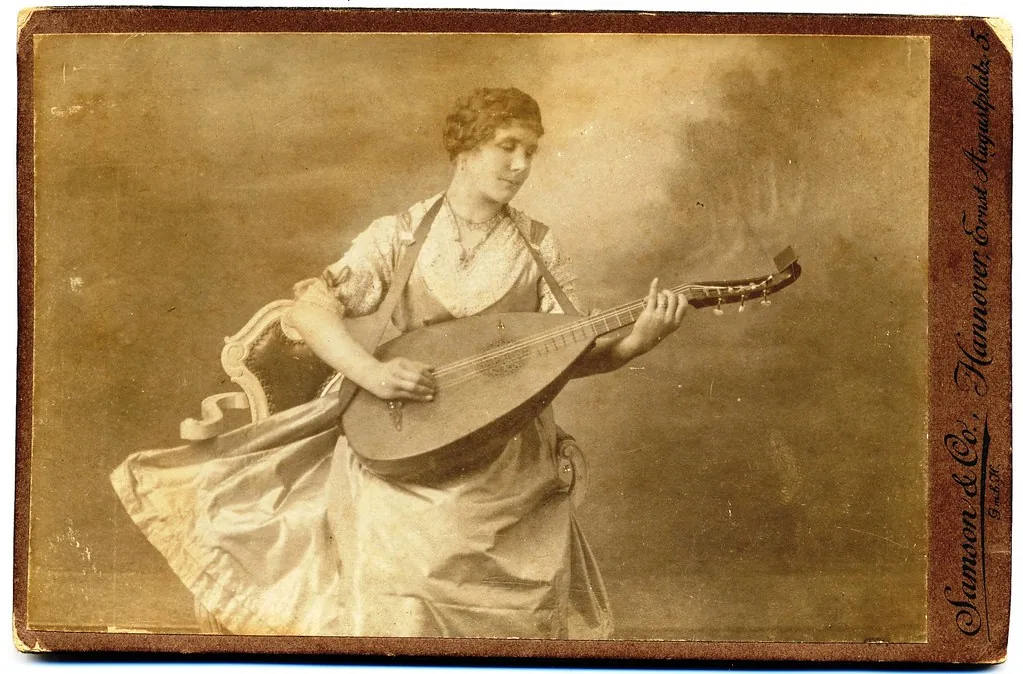
Scope: This guide helps improve tone and consistency from the first practice session. It treats the lute as a plucked string instrument descended from the oud and barbat, and aims for a clear, steady sound.
Who it is for: curious beginners, guitarists making the transition, and advanced lutenists who want a more consistent sound. The exercises can be adapted to every level.
What a “beautiful sound” means: a clean attack, clear phrasing, no unwanted noise, and control of dynamics. These are practical points that are easy to test.
What we will cover: understanding the instrument → posture → right hand on plucked strings → thumb under and thumb over → plectrum and the choice between nails and fingertips → rhythm and continuo.
The promise: no rigid rules, just useful principles you can apply today. Quick tests let you hear the difference in one session.
What makes a beautiful lute sound today
The secret of good tone often lies in the balance of the body and arm more than in any fixed rule.
What do we mean by a “beautiful sound”? A direct, intimate tone rich in detail, without harshness or an excessive attack. Good tone lets the note breathe and keeps its character even from one finger to the next.
Why overall posture matters most
Simply tucking in the thumb can create tension. The positions of the forearm, wrist, and hand, the angle of attack, and the depth of the stroke across the string work together. When the movement fits this whole arrangement, the attack becomes more stable.
Listening and self-assessment criteria
- Clarity at the start of the note.
- Length of the controlled resonance.
- Balance between bass and treble.
- Consistency between the fingers.
Quick test: play the same note ten times and record yourself. Change just one variable, either the angle or the depth, then listen again. Your ear will tell you what improves the sound.
Essential facts about the lute and its instrument family
The pear-shaped instruments in this family have visible differences that directly affect how they are played.
Courses and how they feel under the hand: a course is a pair of strings.
A Renaissance instrument has about six courses.
In the Baroque period, the number can rise to thirteen, providing a richer sound but also more opportunities for noise.
Theorbo and archlute: both can be recognized by their second pegbox and very long bass strings.
These bass strings are often played open, without frets, changing the way continuo is played.
Re-entrant and octave-lowered tuning: re-entrant tuning lowers some of the higher strings into a deeper register.
In octave-lowered tuning, the last two strings are lowered by an octave to preserve tension and tone.
In practice, these choices change the position of the right-hand thumb and how the left hand supports itself on the neck.
| Type | Number of courses | Pegbox | Open strings |
|---|---|---|---|
| Renaissance | ≈ 6 | One | Limited use |
| Baroque | Up to 13 | Sometimes one or two | More common |
| Theorbo | Varies | Two, with long bass strings | Yes, long bass strings |
| Archlute | Varies | Two, with the upper register retained | Yes |
Prepare your posture: forearm, right hand, and balance on the instrument
Before any exercise, adjusting how the arm rests and the angle of the wrist can bring immediate results. A repeatable position saves effort and improves consistency.
Align the forearm and wrist to avoid tension
The wrist should bend neither inward nor outward. The hand approaches the playing area fairly flat, without excessive curvature.
If the forearm feels strained or the thumb has to force its way through a stroke, correct your posture before going further.
Body stability and neck height: find a repeatable position
Sit with the instrument resting against you and your shoulders relaxed. Look for the feeling of its weight resting naturally, without pressing down on the soundboard.
- Adjust the tilt of the body slightly, by 2 to 3 cm, until it feels balanced.
- The height of the neck changes the angle of attack and the depth of the stroke. Guitarists will find a useful parallel here.
- If you hear scratching or feel tension, return to a more open, simpler position.
Place the right hand on the plucked strings
A good hand position makes a great difference: the attack is cleaner and the notes steadier.

Orientation and placement
Keep the palm slightly back, without pressing on the soundboard. Bring the index, middle, and ring fingers almost parallel to the strings so that you can press through rather than pinch them.
Avoid holding the hand too perpendicular to the strings: the movement becomes vertical and the tone is harder to control.
Pressing through or pinching
Pressing through means feeling slight resistance from the string, moving cleanly across the course, then releasing without catching it. The sound is rounder and more even.
Pinching is a more vertical movement. It often produces a noisier attack and becomes tiring as the tempo increases.
Managing the fingers’ return
Keep the return movement short: leave the fingers close to the strings to save motion. This steadies the pulse and improves consistency on double courses.
Practical example: play a simple arpeggio, alternating between pressing through and pinching. Record yourself, then compare the tone. This test quickly reveals the difference.
A guide to consistency: keep the depth of attack the same from one note to the next, especially on the same string or course.
To explore how choices of strings and tuning affect an instrument, see this useful historical article about the tar.
Thumb-under technique: when, why, and how
When the thumb returns naturally to position, the texture becomes clearer. The thumb mainly handles the bass strings and alternates with the index finger to make a clear line without forcing the movement.
To make this position comfortable, rotate the forearm slightly and open the angle of the hand. The thumb can then move inward without twisting, unlike the isolated movement guitarists often make.
A short practical lesson: alternate thumb and index finger on one open string, then on two strings, and finally on two neighboring courses. Make 20 identical repetitions to steady the attack.
Common mistakes include a sharply bent wrist, a thumb that pushes downward, fingers held too far from the strings, and shoulder tension. For an immediate correction, bring the fingers closer, use a shallower stroke, realign the forearm and wrist, and slow down.
A simple example: in the lower register, play a bass note with the thumb, followed by two notes with the index finger. Work slowly on the rhythm until it is consistently even. Open strings make it easier to find the best tone quickly.
Thumb-over technique: historical development and links with guitar playing
As the number of strings increased, the right hand evolved toward a thumb held farther forward. Over the centuries, this approach came closer to the position used in classical guitar playing.
When the hand adapts to more strings
As the number of courses grows, moving the thumb outward becomes more practical. It makes the bass strings easier to reach without disturbing the upper courses.
How this position helps with chords and accompaniment
Practical advantage: a forward thumb makes it easier to alternate quickly between bass and upper notes in continuo playing.
Guitarists will recognize familiar movements, but they need to adapt their pressure and control of resonance to double courses. String noise needs particular attention.
- Movement: thumb forward, fingers kept close to the courses.
- Music: makes block chords and broken accompaniment patterns easier.
Exercise: play a bass note with the thumb, then two upper notes with the index and middle fingers, keeping the same rhythmic pattern. Make 30 slow repetitions, aiming for an even attack.
How to choose: if the repertoire contains a great deal of accompaniment and chord playing, favor thumb-over technique for greater ease.
Lute playing: right-hand technique and plectrum
Depending on the repertoire, the tool you choose directly affects articulation and the weight of the sound.
A simple rule: choose fingers for delicate polyphony and control of individual voices. Choose a plectrum for a sharper attack, fast lines, or a sound rooted in pick-playing traditions.
Keep the attack consistent when changing tools
To avoid an abrupt change in sound when switching tools, keep a similar depth of contact and a stable right-hand angle. Work slowly before increasing the speed.
“A consistent attack depends on a similar stroke length and the same perceived intensity.”
An even attack means a similar perceived volume, notes that begin together, and a consistent sound across double courses.
| Situation | Fingers | Plectrum |
|---|---|---|
| Polyphony | Control of individual voices | Less suitable |
| Fast lines | More difficult | Clear and precise |
| Accompaniment | Warmth | Articulation |
Transition routine: play the same pattern for 5 minutes with your fingers, then for 5 minutes with a plectrum; listen and adjust. In a concert that combines both techniques, switch according to your role, solo or accompaniment, and prepare the hand without tensing it.
For more on choices shaped by history and repertoire, see this practical article on historical playing practice.
The plectrum: from the oud’s risha to the lute
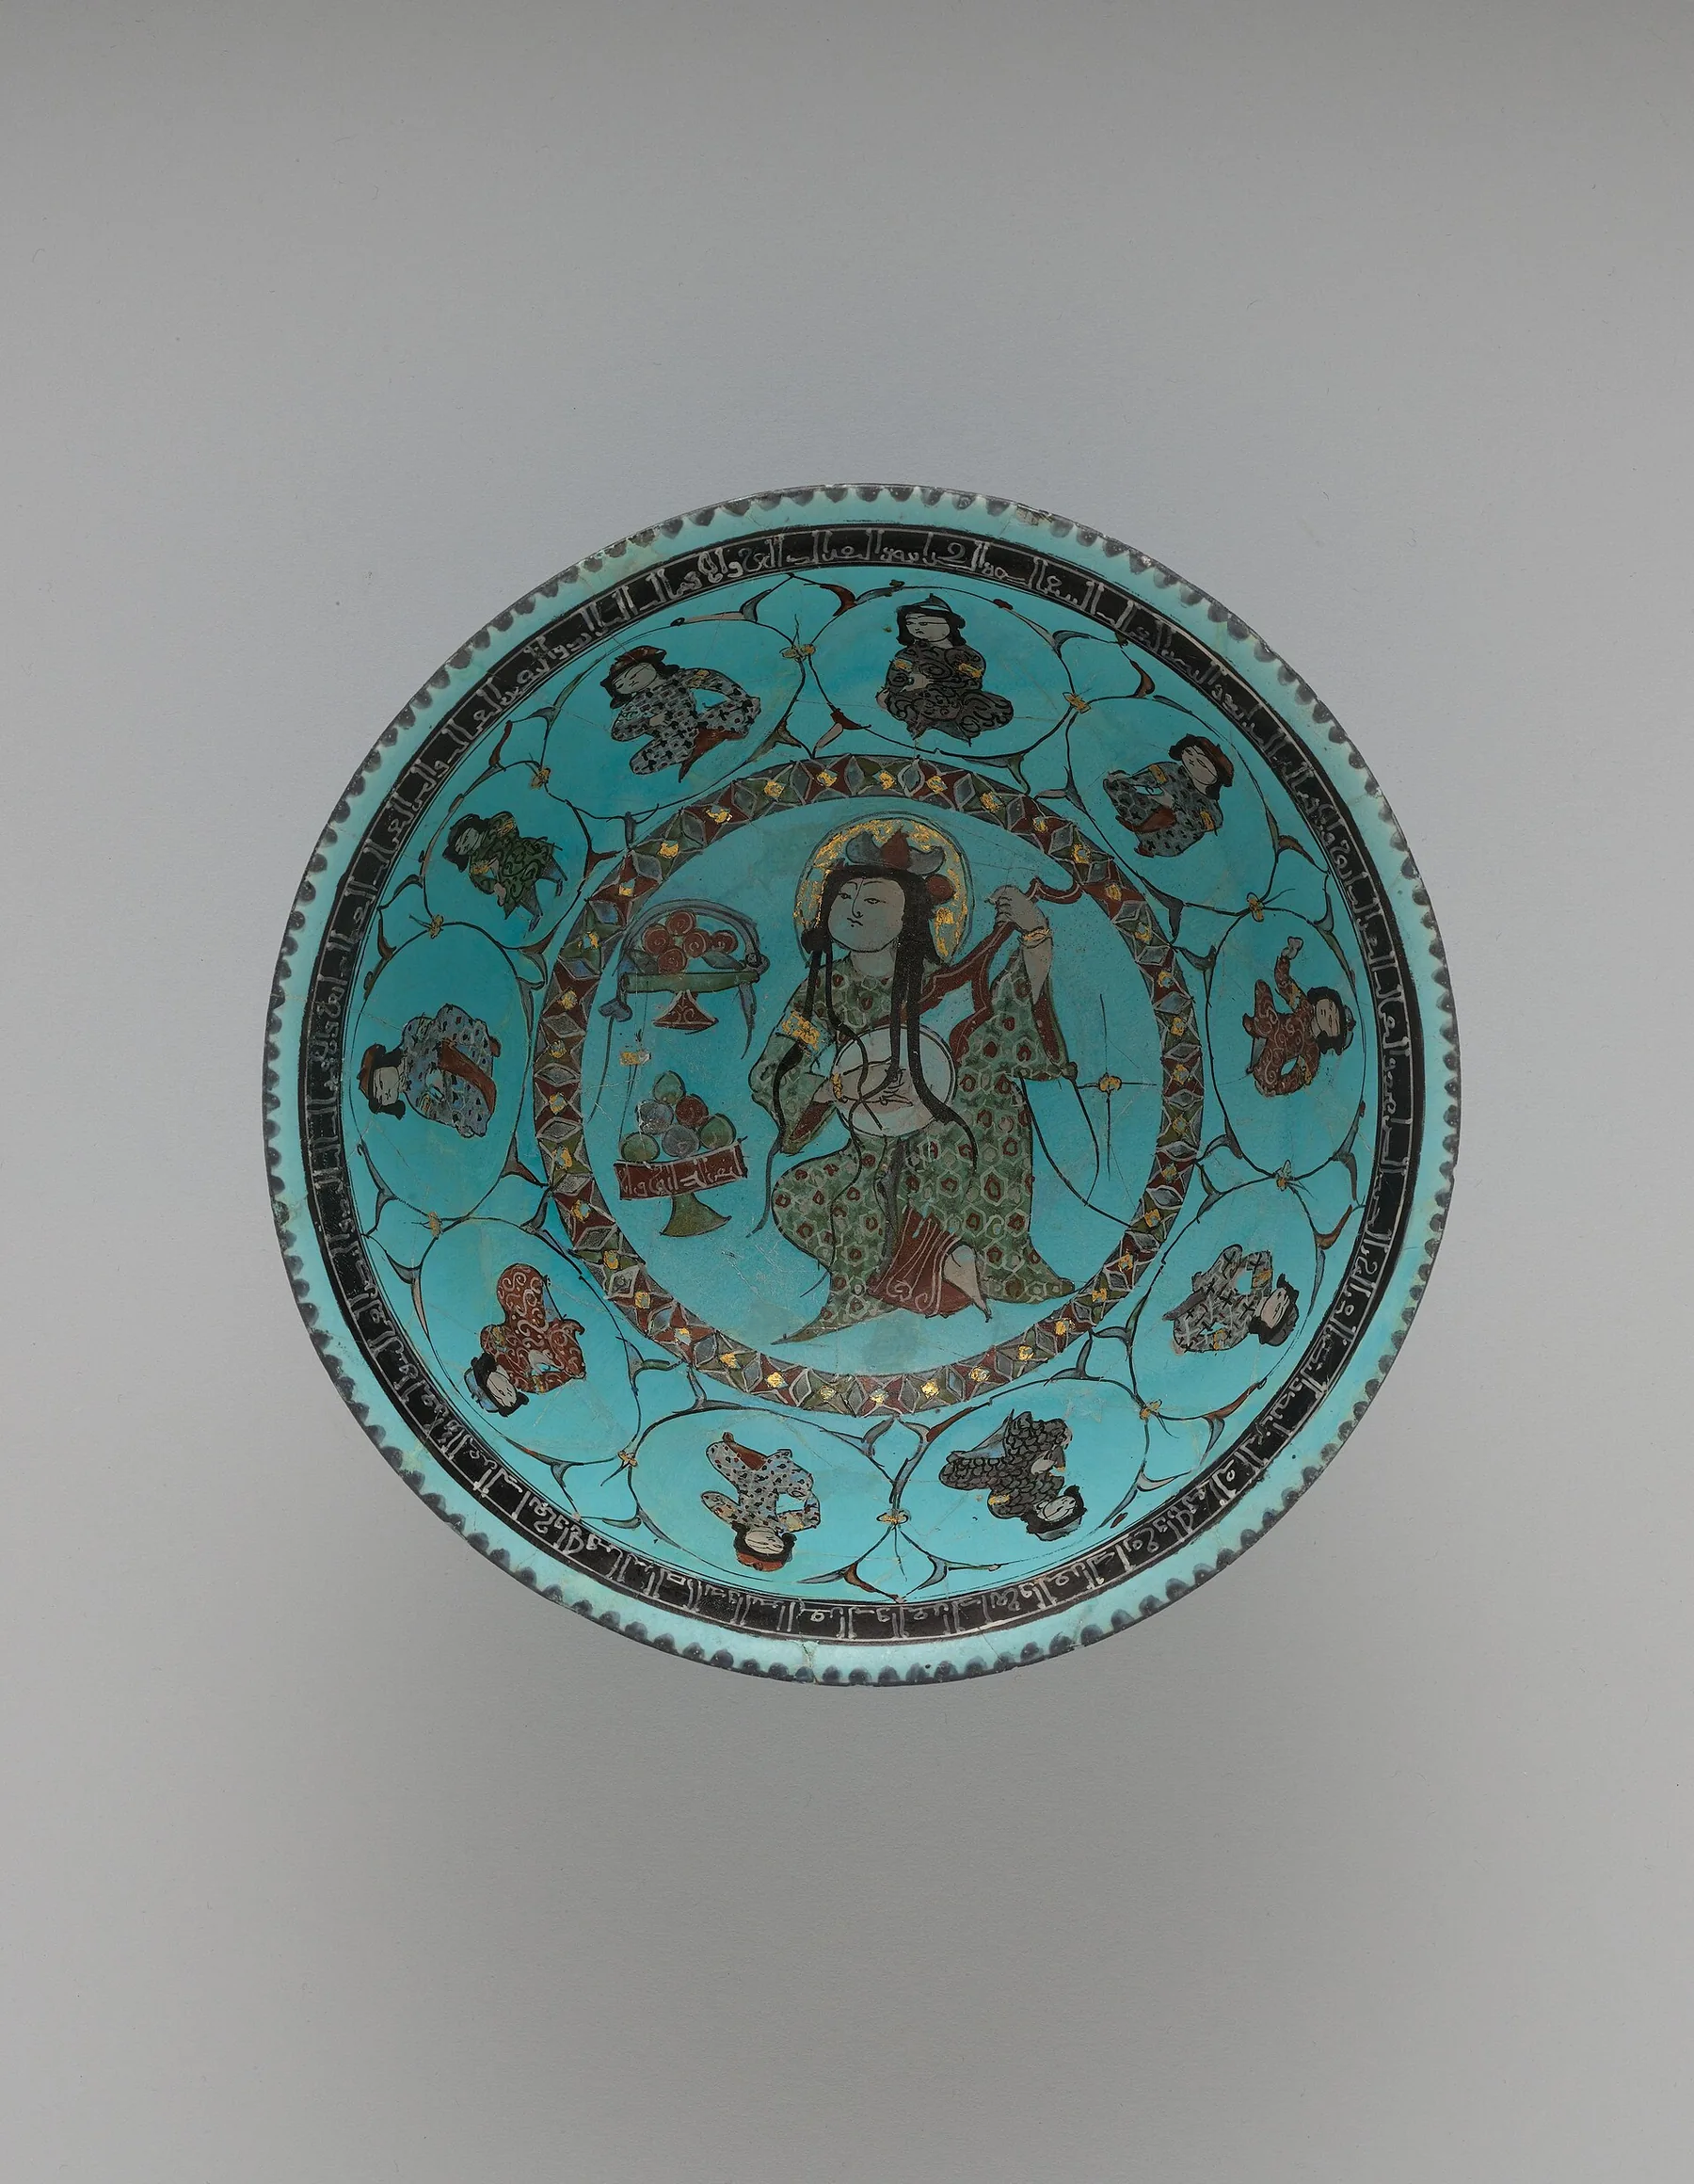
The movement used with the risha and plectrum has shaped a sound rooted in the history of pear-shaped instruments.
Musical role and heritage
Heritage: the oud popularized the risha for playing clear lines. This small tool retained the same role on the lute: projection, speed, and clarity.
Angle, depth, and alternating strokes
Use a slightly oblique angle and a consistently shallow stroke. Practice alternating downstrokes and upstrokes to steady the pulse.
Reduce string noise
A “click” often comes from an angle that is too steep, too much pressure, or a rigid pick. Use a shallower stroke and a more flexible movement for a more singing tone.
Practice sequence
Exercise: one string at a slow tempo → two strings → a change of course while keeping the same tone. On double courses, aim to cross both strings evenly.
To place the instrument in context, see the different types of lute and this overview of ancient string instruments.
Nails or fingertips: choose how you contact the string
Where the finger meets the string changes the clarity, warmth, and definition of the sound.
There are two main options: the fingertip provides warmth and softness. The nail adds clarity, projection, and definition.
Historical background and modern choices
Until the 1950s, many guitarists played without nails. Some players today alternate between fingertip and nail according to the style.
The aim is to choose the sound that serves the music, without following a fixed rule.
How to test them quickly
A simple procedure: play the same pattern three times in the same place, first with the fingertip, then with mixed contact, and finally with the nail. Record yourself.
Compare the attacks, noise, and sustain. Note what improves the tone.
| Contact | Character | Suggested use | Care |
|---|---|---|---|
| Fingertip | Round, warm | Subtle continuo | A more angled contact to avoid a muffled sound |
| Nail | Clear, projecting | Solo passage | Minimal length, polished edges |
| Mixed | Flexibility, contrast | Varied repertoire | Alternate and adjust |
For example, favor the fingertip for gentle accompaniment and the nail for a pointed musical line.
Resting the little finger on the soundboard: guide or constraint?
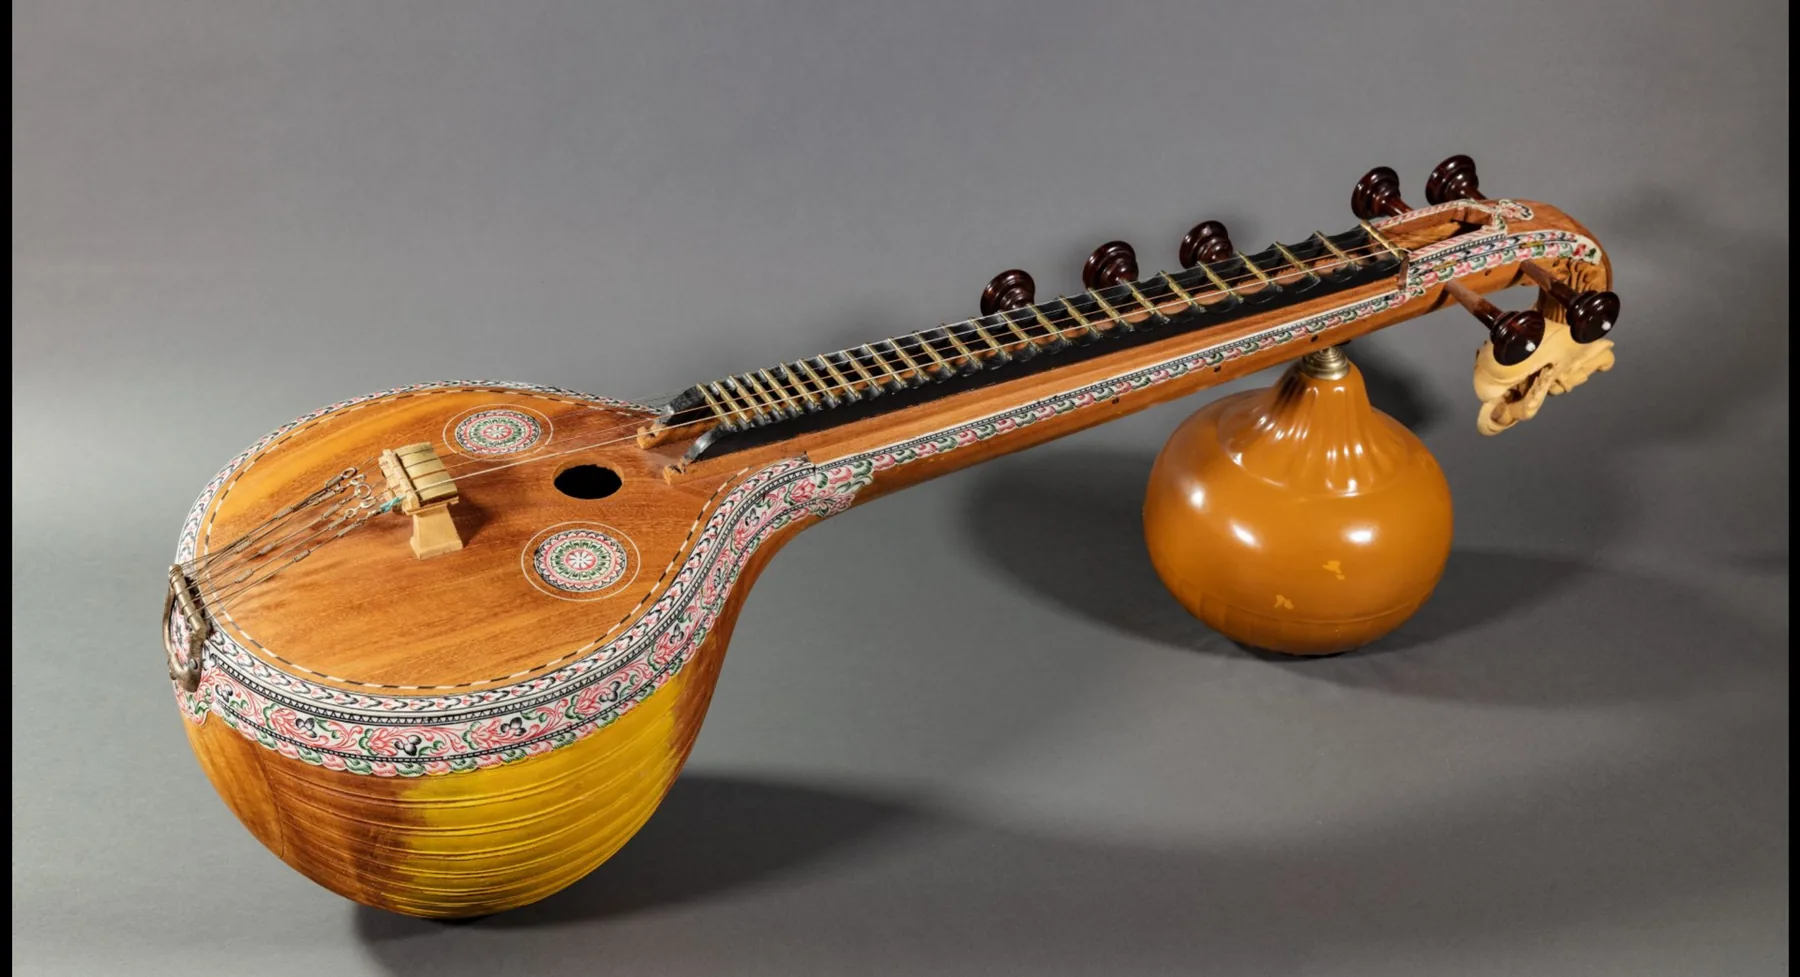
Some Baroque performers use the little finger as a reference point to find the balance of their movement. This touch helps the hand locate itself on the instrument without looking at the neck.
Stability and support: benefits in practice
A light touch reduces unnecessary movement and steadies the pulse. In accompaniment, it can provide a sense of security. The tactile reference helps maintain an even attack and control dynamics.
When to lighten the touch and free the movement
Pressing too hard creates tension and fixes the hand in place. In fast passages, freedom of movement takes priority: if the wrist bends sharply or your speed stops improving, lighten the contact.
A simple test: play for 2 minutes with a light touch, then 2 minutes without it. Compare fluidity and sound quality. Choose the position that lets you move freely while maintaining good balance.
Coordinate the right and left hands: clean attacks and chords
Coordinating preparation, attack, and release clarifies the sound and prevents snags. The left hand prepares the chord while the right hand anticipates the stroke. Then both hands release together for a clean end to the note.
Synchronize chord changes, attack, and release
A simple method: divide the movement into steps — place the chord → play it → release it. Do this slowly, then increase the tempo while keeping each movement the same.
Avoid unwanted open strings and stray resonance
On some instruments, bass strings are naturally played open. Learn to mute unwanted strings with a left-hand finger. A controlled return of the right hand also helps stop resonance.
Tip: resonance can enrich or blur the harmony. Let the music determine which notes should ring and which should stop.
Practical exercises
- Slow chord changes: place the chord, wait 1 second, play it, then release cleanly. Repeat 10 times.
- Stopped arpeggios: play an arpeggio and stop precisely on the second beat for a clean ending.
“When both hands stop together, the chord gains clarity and purpose.”
Work on time: pulse, consistency, and dynamics
Working on time turns good technique into a coherent musical line.
Time on the lute: the hand governs consistency, breathing, and the feeling of dance. A steady pulse shapes the ensemble and guides the other instruments.
Giving impulses: these are small, clear movements that mark the beat without weighing it down. They help support a line and define the attack, both in solo playing and in continuo.
From very soft playing to a marked rhythm
A range of dynamics: a very light attack for singing passages and a deeper one for a rhythmic role. Practice transitions in stages, gradually increasing and then decreasing the intensity.
Short daily routines
A 5-to-10-minute routine:
- Open strings with a metronome, 3 minutes: keep the beats even.
- Arpeggio patterns, 3 minutes: vary the strength of the attack.
- Simple chords, 2 to 4 minutes: mark clear impulses to support the ensemble.
Examples for each level
Beginner: practice at a single tempo, aiming for stability.
Intermediate: play the same patterns while varying the dynamics.
Advanced: add expressive impulses and phrasing to shape the tone.
“Record yourself for 30 seconds each day: the difference soon becomes clear.”
Accompaniment and the Baroque orchestra: the right hand in service of continuo
In the Baroque orchestra, the basso continuo forms the framework supporting the voices and winds. Continuo provides both a harmonic and rhythmic foundation. It is often shared among harpsichord, viol, and cello.
Improvise from a harmonic foundation: intention and good taste
Improvise from a clear foundation: choose simple inversions and modest ornaments. The idea is to make your intention audible without hesitations that disrupt the ensemble.
Support, reassure, and breathe with the ensemble: listening and responding
Listening guides what you do: notice whether the voice, upper instruments, or bass is leading, and adapt your attack.
“The quality of support depends as much on listening as on the attack.”
Adapt the texture to the instruments present
If the harpsichord plays a dense part, make yours lighter. If the bass stands alone, strengthen the impulses. When a viol or cello is prominent, favor short attacks and subtle colors.
- Role of continuo: a harmonic and rhythmic foundation that several instruments can share.
- Strategy: carry the music when it needs support; let it breathe when a phrase sings.
- Vocabulary: a player is commonly called a “lutenist” even when playing a theorbo or archlute — see the theorbo and archlute.
Adapt your technique to the period, instrument, and skill level
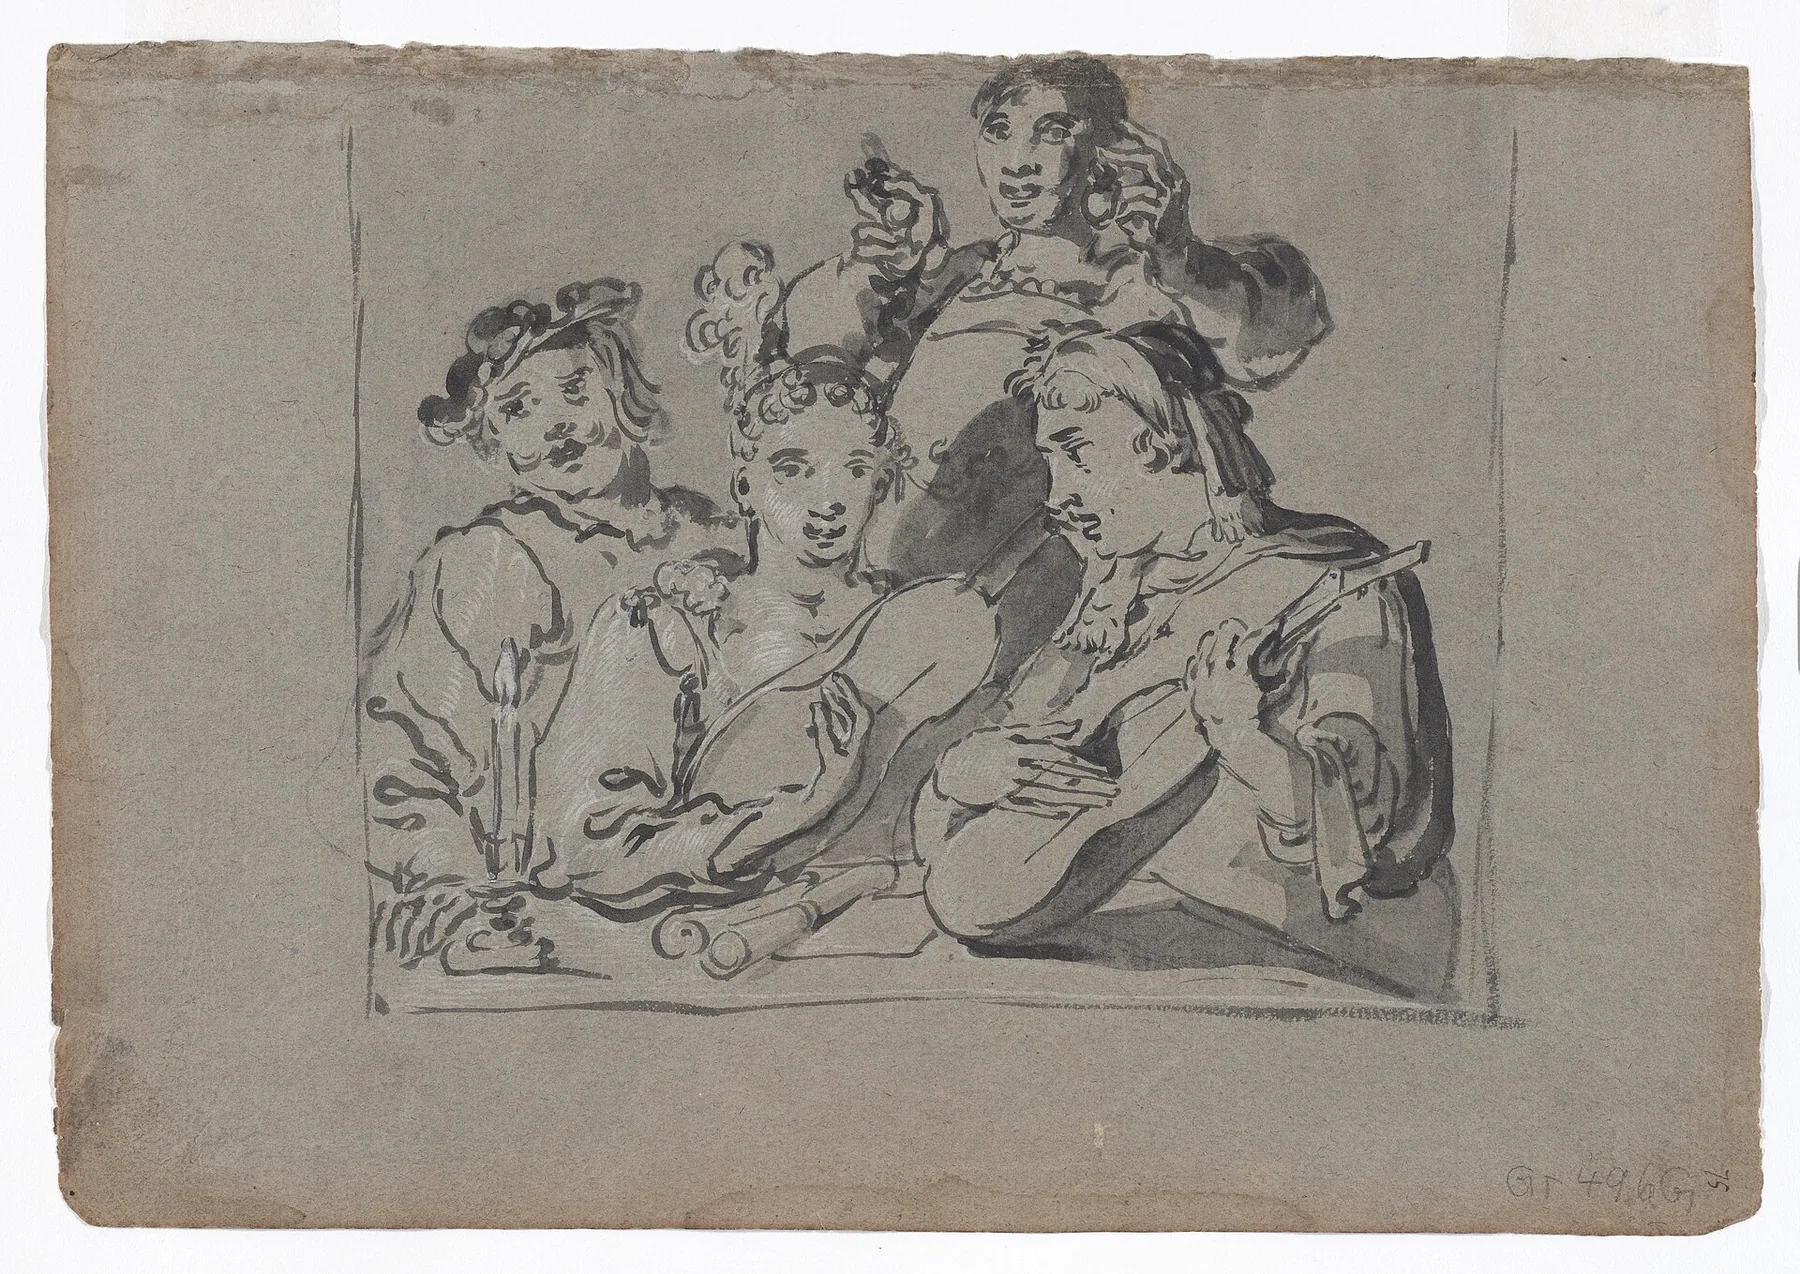
The same movement does not work equally well on a Renaissance lute, a Baroque instrument, and a theorbo. Set clear priorities according to the period and your musical role.
Renaissance: imitate the plectrum and clarify the lines
Aim: clear articulation and independent lines.
Favor a thumb-under attack to imitate the plectrum. Limit heavy chords and seek clarity in the polyphony.
Baroque: manage more strings, more accompaniment, and more colors
Aim: harmonic and rhythmic support, along with a range of dynamics.
With more strings, organize how the thumb and fingers share the work, and practice changes in intensity for continuo.
Theorbo and archlute: make the most of open bass strings
Aim: use the resonance of open bass strings while preserving the balance between voices.
On the theorbo, pay close attention to managing the open bass strings. The archlute calls for versatility across its upper and extended lower registers.
Progress by level: now and later
Beginner: stable posture, a clean attack, and a slow, even tempo — progress you can make now.
Intermediate: alternation between thumb and fingers, control of dynamics, and clean chords.
Advanced: continuo textures, stylistic articulation, and fine control of resonance — goals for later.
“Aim first for small, immediate successes: angle, depth, and economy of movement.”
Quick diagnosis: correct the most common problems
A quick diagnosis can often correct, within minutes, the problems that weaken the tone or steadiness of your playing.
Harsh or “acidic” tone: adjust the angle and depth of attack
If the sound seems too harsh, use a shallower stroke and soften the angle. Move the contact point one centimeter toward the fingerboard for a rounder tone.
Aim to press through the string more than to pinch it: this produces fewer clicks and unwanted noises.
Unsteady rhythm: simplify the right hand and practice on open strings
Return to open strings to steady the attack and pulse. Simplify the movement to thumb and one finger, then rebuild the arpeggio.
Practice slowly and increase the tempo only while the rhythm remains even.
Pain and tension: review the forearm, instrument height, and relaxation
Pain often comes from poor forearm alignment or an unsuitable instrument height.
Relax the shoulder, realign the wrist, and check that the hand is not tensing up. If tension returns, stop and correct your overall position.
- Quick checklist: overly harsh sound / string noise / insufficient volume / unsteady rhythm / fatigue.
Example of a 15-minute correction session: 5 minutes on posture and alignment, 5 minutes playing open strings with a metronome, then 5 minutes on a simple pattern while gradually increasing the tempo.
“If tension returns immediately, revisit your position before persisting with the exercise.”
For a fuller examination of ergonomics and movement, see this work on postural assessment.
Conclusion
To conclude, remember what makes the greatest difference: overall position, finger orientation, whether the thumb moves under or over, and the choice between plectrum, nails, and fingertips.
Let the music guide you: listen to the attack, phrasing, and consistency to judge whether a technique is useful. Test one variable at a time and record yourself.
Establish a short daily routine. Choose one focus for the week — tone, rhythm, coordination, or continuo — and progress without spreading your attention too thin.
If tension persists or you want to accompany an orchestra, consider a lesson with a specialist. To place the plectrum in its historical context, see this useful article on playing with the risha.