
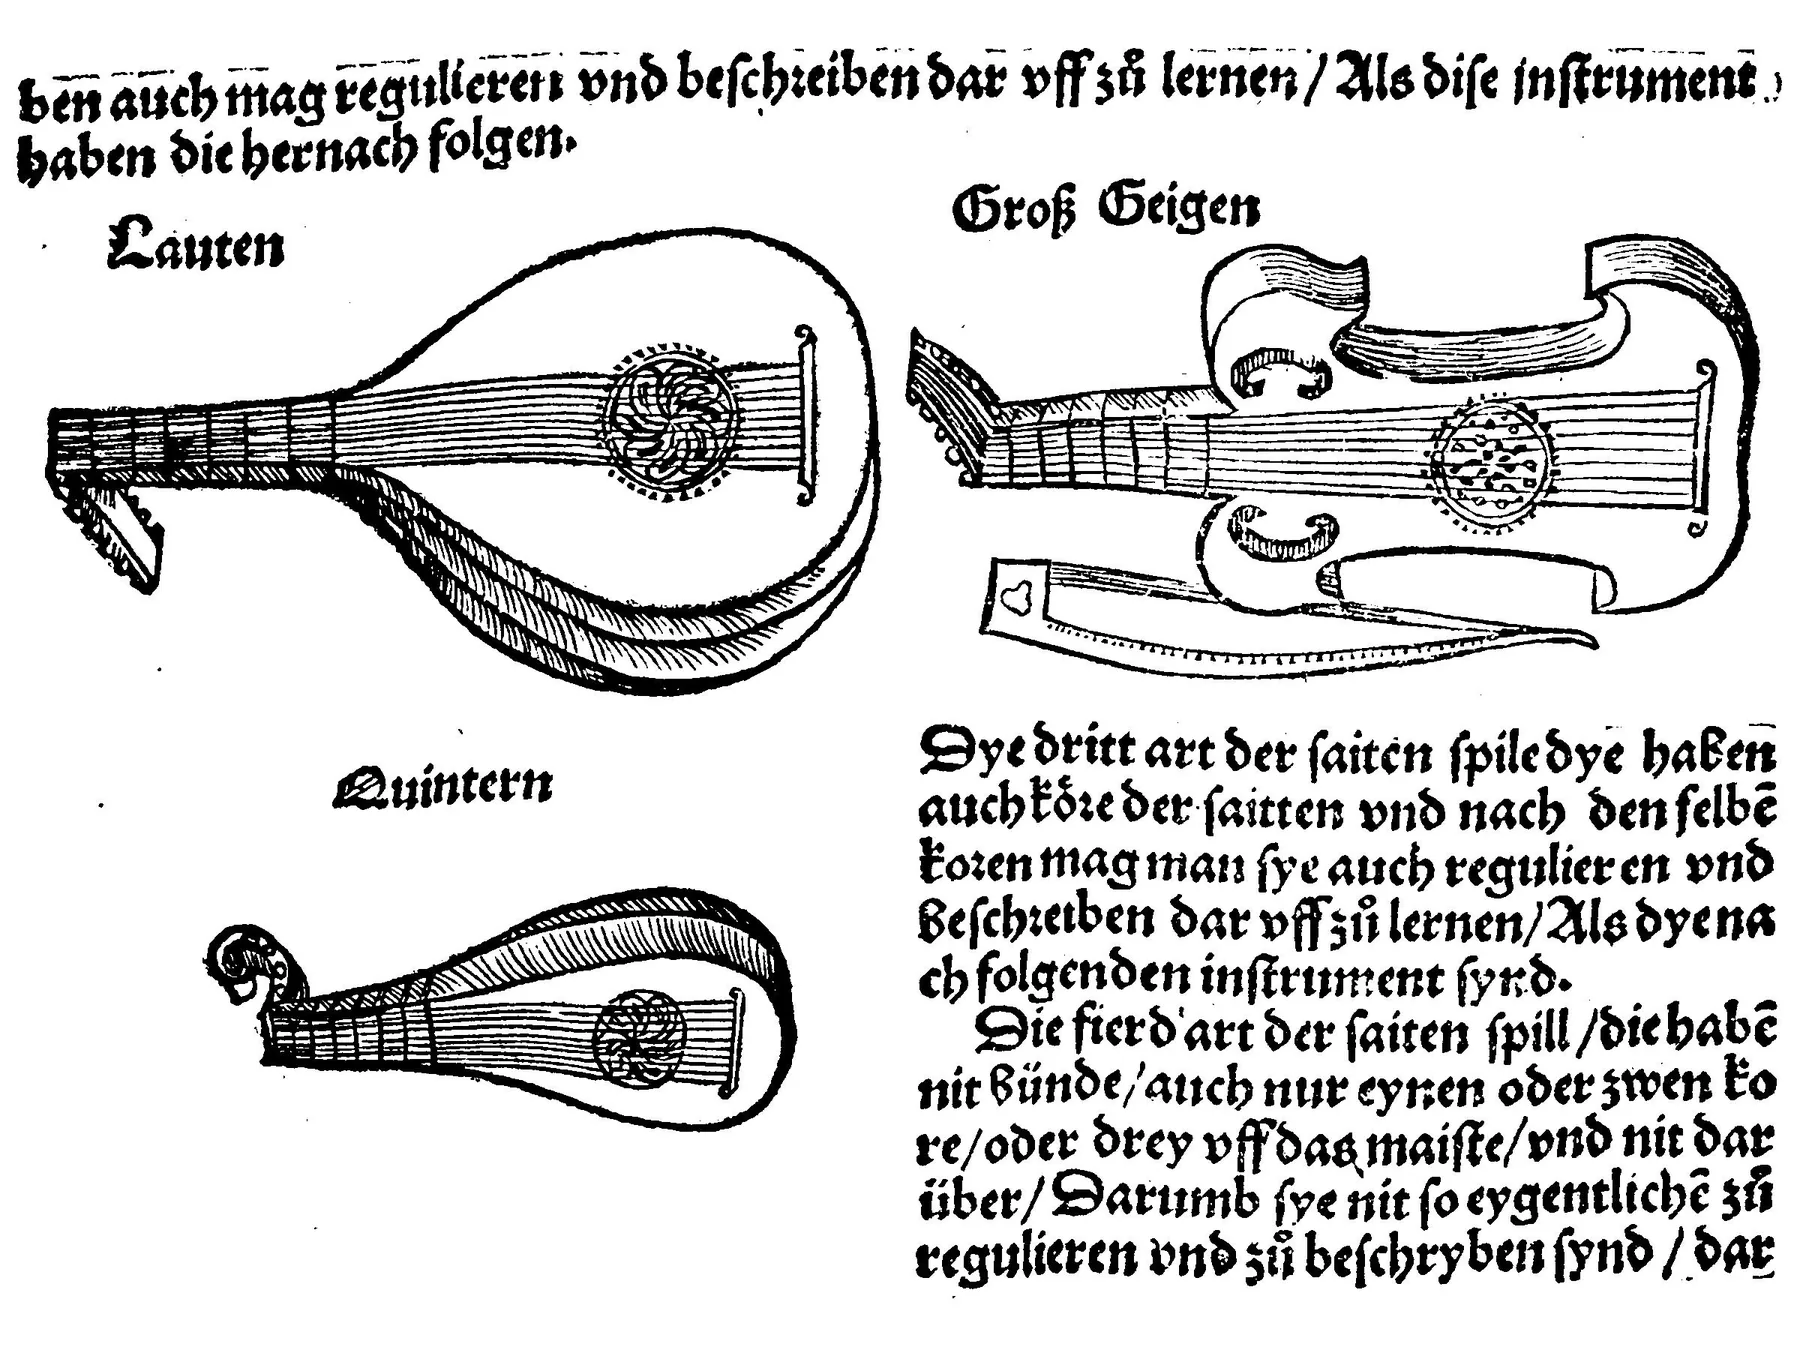
Goal: this guide aims to help musicians achieve a clear, stable sound. It explains why tuning requires a method and regular attention, and offers a clear procedure.
The lute is a plucked string instrument whose double courses and angled pegbox require more attention than a guitar. Its wood and string tension respond to humidity and temperature, which can unsettle the pitch.
The approach: choose a reference pitch (A = 440 or A = 415), prepare the instrument, select suitable accessories, follow a step-by-step procedure, then check the result by playing. The aim is a combined approach, using a tuner and your ear to gain accuracy without sacrificing musicality.
For beginners on Renaissance or Baroque lute, curious guitarists, and ensemble players. Key precautions: increase tension gradually, monitor humidity and temperature, and understand courses tuned in unison or octaves.
Understand the lute before tuning it: courses, paired strings, and sound
Every lute responds differently according to its body, strings, and arrangement of courses.
The lute is a plucked string instrument. To adjust its pitch, you need to know its body, soundboard, nut, bridge, pegbox, and pegs.
The difference from the guitar lies in its courses. A guitar has single strings; a lute often has pairs. This affects tuner readings and note stability.
A course often has two strings. They may be tuned in unison or an octave apart. The strings must be in tune within each course and the courses in tune with one another to preserve the harmony.
| Type | Common number of courses | Practical consequence |
|---|---|---|
| Renaissance | 6 in the standard version (extensions to 7 or 8) | Simple tuning routine, with few bass courses to manage |
| Baroque | 10 to 13 | More basses to tune and octave relationships to check |
| Musical effect | — | A mismatched course creates beats and changes the sound |
Choose a reference pitch for consistent tuning
Choosing a reference pitch is the first decision that determines your instrument’s string tension and tone.
The reference pitch is the frequency of A (A4). On a historical instrument, it affects string tension and therefore the overall tone.
A4 = 440 Hz remains the simplest choice in a modern setting. It makes playing with guitars, pianos, and standard recordings easier.
A4 ≈ 415 Hz often suits Baroque playing. This reference can produce a gentler sound and fit better with harpsichords and early-music ensembles.
“Before touching the pegs, choose your A and set the tuner to that pitch.”
As a practical rule, choose your A, set the tuner, then increase the tension gradually. In an ensemble, all instruments must use the same reference; otherwise, even a string that reads as in tune will sound wrong.
If you are a beginner, stick to one reference pitch. Experienced players can choose 415 or 440 Hz to suit the repertoire and their fellow musicians.
Essential tools for tuning a lute accurately
Before touching the pegs, gather the tools that help prevent false readings and slipping. Good preparation saves repeated adjustments and protects the soundboard.
Basic equipment:
- An adjustable chromatic tuner (440 or 415 Hz), preferably in chromatic mode.
- A tuning fork or reference note to establish the starting pitch.
- A tuning key suited to the pegbox for fine adjustments.
- A case humidifier and hygrometer to help stabilize the strings and wood.

Tuner settings and limitations
Set the device to chromatic mode and choose A = 440 or A = 415 according to the repertoire. Pluck just one string cleanly to avoid a wavering reading. If the course is doubled, the tuner may average two frequencies.
Practical tip: tune each string separately to avoid a false impression of stability.
Tuning fork, tuning key, and humidity
A tuning fork provides a reliable starting pitch when the device struggles to detect low notes or the surroundings are noisy.
A tuning key allows fine adjustments and helps prevent pegs from slipping on older instruments. Always use small, controlled movements.
Finally, keep humidity steady: a case humidifier helps stabilize the strings and improve the quality of the sound.
“Good equipment shortens tuning time and protects the instrument.”
| Item | Purpose | Practical advice |
|---|---|---|
| Chromatic tuner | Measures pitch | Chromatic mode, A = 440 or 415 Hz |
| Tuning fork | Stable reference | Use if the tuner struggles with low notes |
| Tuning key | Fine adjustments | Use small movements to limit peg slippage |
| Humidifier and hygrometer | Stability of wood and strings | Maintain relative humidity of 40–60% |
To develop your playing and benefit from practical experience, consult this additional practical guide.
Choose suitable strings to make tuning easier and stabilize the pitch
String material and tension determine feel, tone, and sensitivity to changes in the weather. Your choice affects pitch stability as much as ease of tuning.
Gut, nylon, and metal: feel, tone, and sensitivity
Gut: a warm, historically appropriate sound, but highly sensitive to humidity. Its tone changes with the conditions.
Nylon: more stable and ideal for beginners. It offers better everyday pitch stability.
Metal: very powerful, but use it cautiously. It can increase tension and strain the soundboard.
Tension and safety
Increase tension gradually. Avoid overtightening: too much tension raises the risk of breakage and strains the soundboard.
“Safe tuning begins with small movements and regular attention to tension.”
New strings and a routine after replacing them
New strings stretch for about 48 hours. Their tuning often changes during that period.
- Gently stretch each string after fitting it.
- Retune several times during short sessions.
- Check the balance between bass and treble to keep the pitch consistent.
Common lute tunings: Renaissance G and Baroque D
Tuning practices vary with the period and intended range. Here are the main note sequences used today.

Renaissance lute (six courses)
G tuning: G–C–F–A–D–G, from lowest to highest. This sequence provides a stable basis for counterpoint and makes chord inversions easier.
Seven- or eight-course versions
On extended models, basses are added below the main pattern in descending fourths. These lower strings provide a solid harmonic foundation.
Baroque lute (upper six courses)
D tuning: D–F–A–D–F–A for the upper six courses. This arrangement favors a lower range and resonance suited to Baroque repertoire.
Additional Baroque lute basses
Additional basses often descend by thirds or fourths, depending on the piece and edition. Always check the tablature or edition so the basses suit the music.
Practical reminder: write your tuning on a card kept in the case (instrument model, reference pitch, and note sequence) so you can quickly restore the right setup.
- Overview: distinguishing Renaissance from Baroque lutes helps you avoid applying an unsuitable tuning to the instrument.
- Tip: play arpeggios on the basses to check the harmonic balance.
How to tune a lute: methods, tools, and mistakes to avoid
To set the pitch, distinguish accurate tuning from musical expression. Listening guides the adjustments, while a device supplies a stable reference.
Tuning by ear
Listen for beats between the two strings of a course. When the pulsing disappears, they are in unison.
For an octave, adjust the pitch to reduce audible beats. Then play a simple arpeggio to check the harmonic balance.
Tuning with a tuner
Pluck one string and mute its partner if necessary. Read the pitch, correct it with small movements, then tune the second string.
Do not pluck too hard. Multiple resonances or background noise can mislead the device.
Recommended combined approach
A good approach combines a tuner for pitch with your ear for tone. The tuner establishes the note; listening lets you check unisons, octaves, and the balance among courses.
In a studio or ensemble, use the device first, then check the result by ear. During personal practice, train your ear to work more quickly.
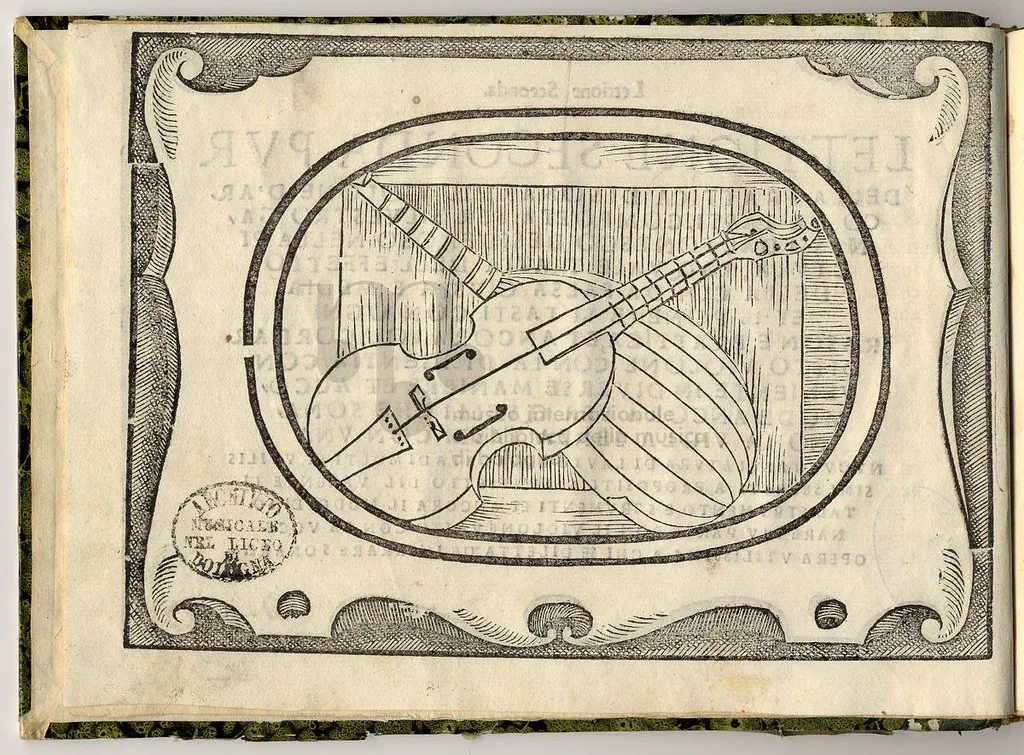
| Method | Advantage | Limitation |
|---|---|---|
| Ear | Fine musical control | Takes practice |
| Tuner | Digital accuracy | Can be misled by double courses |
| Combined | Quick and musical | Requires two complementary steps |
“Use the device to establish the pitch, then listen to preserve the musicality.”
For a detailed procedure and practical tips, consult this traditional tuning guide.
Prepare the instrument before tuning to prevent instability
A quick check of the bridge and friction points prevents endless adjustments. Before tightening the strings, inspect the bridge, nuts, and grooves. A poorly cut or dirty groove can catch a string and make its pitch unstable.
Check the bridge, nuts, grooves, and friction points
Make sure the bridge is positioned correctly and the nuts are clean. Grooves should match the strings’ diameters to avoid friction.
A simple test: tune a string, pull it very gently, then release it. If it does not return to pitch, look for a point where it catches or a faulty winding.
Stabilize the surroundings: humidity and temperature before tightening the strings
The quality of the tuning also depends on the conditions. Wood and strings respond quickly to changes in humidity and temperature.
If you have come in from the cold, let the case acclimatize for a few minutes. Stabilizing the room temperature before tightening the strings helps limit movement in the wood.
Peg tip: identify pegs that slip or turn back, and make small adjustments instead of large turns.
To learn more about choosing an instrument and its components, consult this guide to string instruments, which complements these checks.
Step-by-step procedure for tuning courses cleanly
Aim: establish stable courses and a reliable harmonic foundation before making fine adjustments.
1. Start with the basses.
Tune the basses first to establish the foundation. Stable basses help prevent the need to retune everything later.
2. Tune the first string of the course.
Use the tuner to bring the chosen string accurately to pitch. Check it, then move to the second string.
3. Adjust the second string.
Tune it until the beats slow down. Aim for almost imperceptible beats for a clear unison, or a true octave if that is how the course is strung.
4. Secure the pegs.
Favor small adjustments. If a peg slips, push it in gently to seat it instead of turning it a long way.
5. Check the tuning musically.
Play slow arpeggios and a few simple chords in different positions. Identify and correct any course that sounds out of place.
“Starting with the basses and checking the tuning by playing helps avoid frequent readjustments.”
| Step | Action | Quick tip |
|---|---|---|
| Foundation | Tune the basses | Stabilizes the whole instrument |
| Course | Tune one string, then the second | Listen for beats |
| Pegs | Make fine adjustments | Small movements and secure seating |
| Check | Play arpeggios and chords | Check in several positions |
Common tuning mistakes and how to avoid them
Inaccurate tuning quickly becomes apparent: unstable strings, turning pegs, and persistent beats.
Overtightening a string — symptom: breakage or excessive tension pulling on the soundboard. Common cause: trying to reach the pitch too quickly or confusing reference pitches. Method: increase tension in small steps, check the target note, and stop as the tuner shows you are approaching it.
Ignoring humidity — symptom: a string loosens after tuning or the pitch changes within hours. Cause: wood moves and strings are sensitive to humidity. Tip: stabilize the humidity in the case and let the instrument acclimatize before playing.
Poorly made knots and windings — symptom: slipping at the bridge or pegbox and rapid loss of pitch. Cause: loose windings or a knot with too short an end. Remedy: retie a neat knot, rewind the string in tidy coils, and gently seat the peg if necessary.
“Increase tension gradually, check the surroundings, and wind strings carefully for lasting stability.”
- Always check the pegs before playing.
- After any correction, tune the whole instrument again.
- If it still will not stay in tune, ask a luthier to inspect the nuts and bridge.
A useful comparison: tuning the lute, classical guitar, and oud
Players coming from the guitar or oud need to adjust some habits to tune a lute successfully.
Classical guitar
The guitar has six single strings and standard tuning of E–A–D–G–B–E. Many musicians become accustomed to this pattern.
Its tuning is often more stable because each string is independent. Tuning focuses on individual notes rather than whole courses.
Oud
The oud has five or six courses and is generally fretless. Its melodic lines draw on modes, allowing small variations in pitch.
The ear plays a major role: intonation depends on the context and musical phrase more than on an absolute pitch.
Practical differences and advice
Double courses require you to adjust each pair to eliminate beats. Historical pegs may need very small movements.
Tip: use a device to establish the pitch, then check it by ear with chords and arpeggios. Do not apply your guitar-tuning method mechanically.
“Set the pitch with the device first, then listen for harmonic coherence.”
To explore frequencies and reference points further, consult this frequency table.
How to keep a lute in tune longer
Simple habits extend tuning stability and improve the sound. Adopt a short routine before each playing session.
Before playing: tune the strings, then check them again after a few minutes of warming up. New strings settle, but need several small adjustments.
Storage and humidity
Keep the instrument in its closed case and maintain steady humidity. Avoid radiators, car trunks that are too hot or cold, and rapid changes that affect pitch.
Care and inspection
Light cleaning after playing helps preserve the strings and soundboard. Inspect the pegs regularly; tighten or replace them if they slip.
To save time: check the more sensitive upper courses first, then the basses, and finish with an arpeggio to confirm the balance.
“A well-maintained lute lets its voices sing more freely and needs fewer adjustments during rehearsal.”
| Practice | Frequency | Benefit |
|---|---|---|
| Quick tuning before playing | Every session | Immediate stability |
| Check after warming up | After 5–10 minutes | Strings have settled |
| Store in a case with a hygrometer | Continuously | Limits changes |
| Clean and inspect pegs | Monthly | Preserves string quality |
If the tuning still changes, check the strings for wear, inspect their windings, and consider the surrounding conditions. For more care advice, learn how to maintain and clean a string instrument.
Conclusion
In summary, follow a clear process: choose A = 440 or A = 415, prepare the instrument, then tune it one course at a time, from bass to treble.
Remember two families of tuning: Renaissance G (G–C–F–A–D–G) and Baroque D (D–F–A–D–F–A with additional basses). Use a tuner to establish the notes, then your ear to refine unisons and octaves.
Avoid overtightening, overlooking humidity, poorly made knots, and large turns of the pegs. Make a personal reference card (reference pitch, tunings, course order, and useful notes) so you can repeat the procedure confidently.
The result: a stable instrument produces a freer sound, steadier basses, and clearer polyphony. To explore the history of temperaments, consult this tuning manual.