
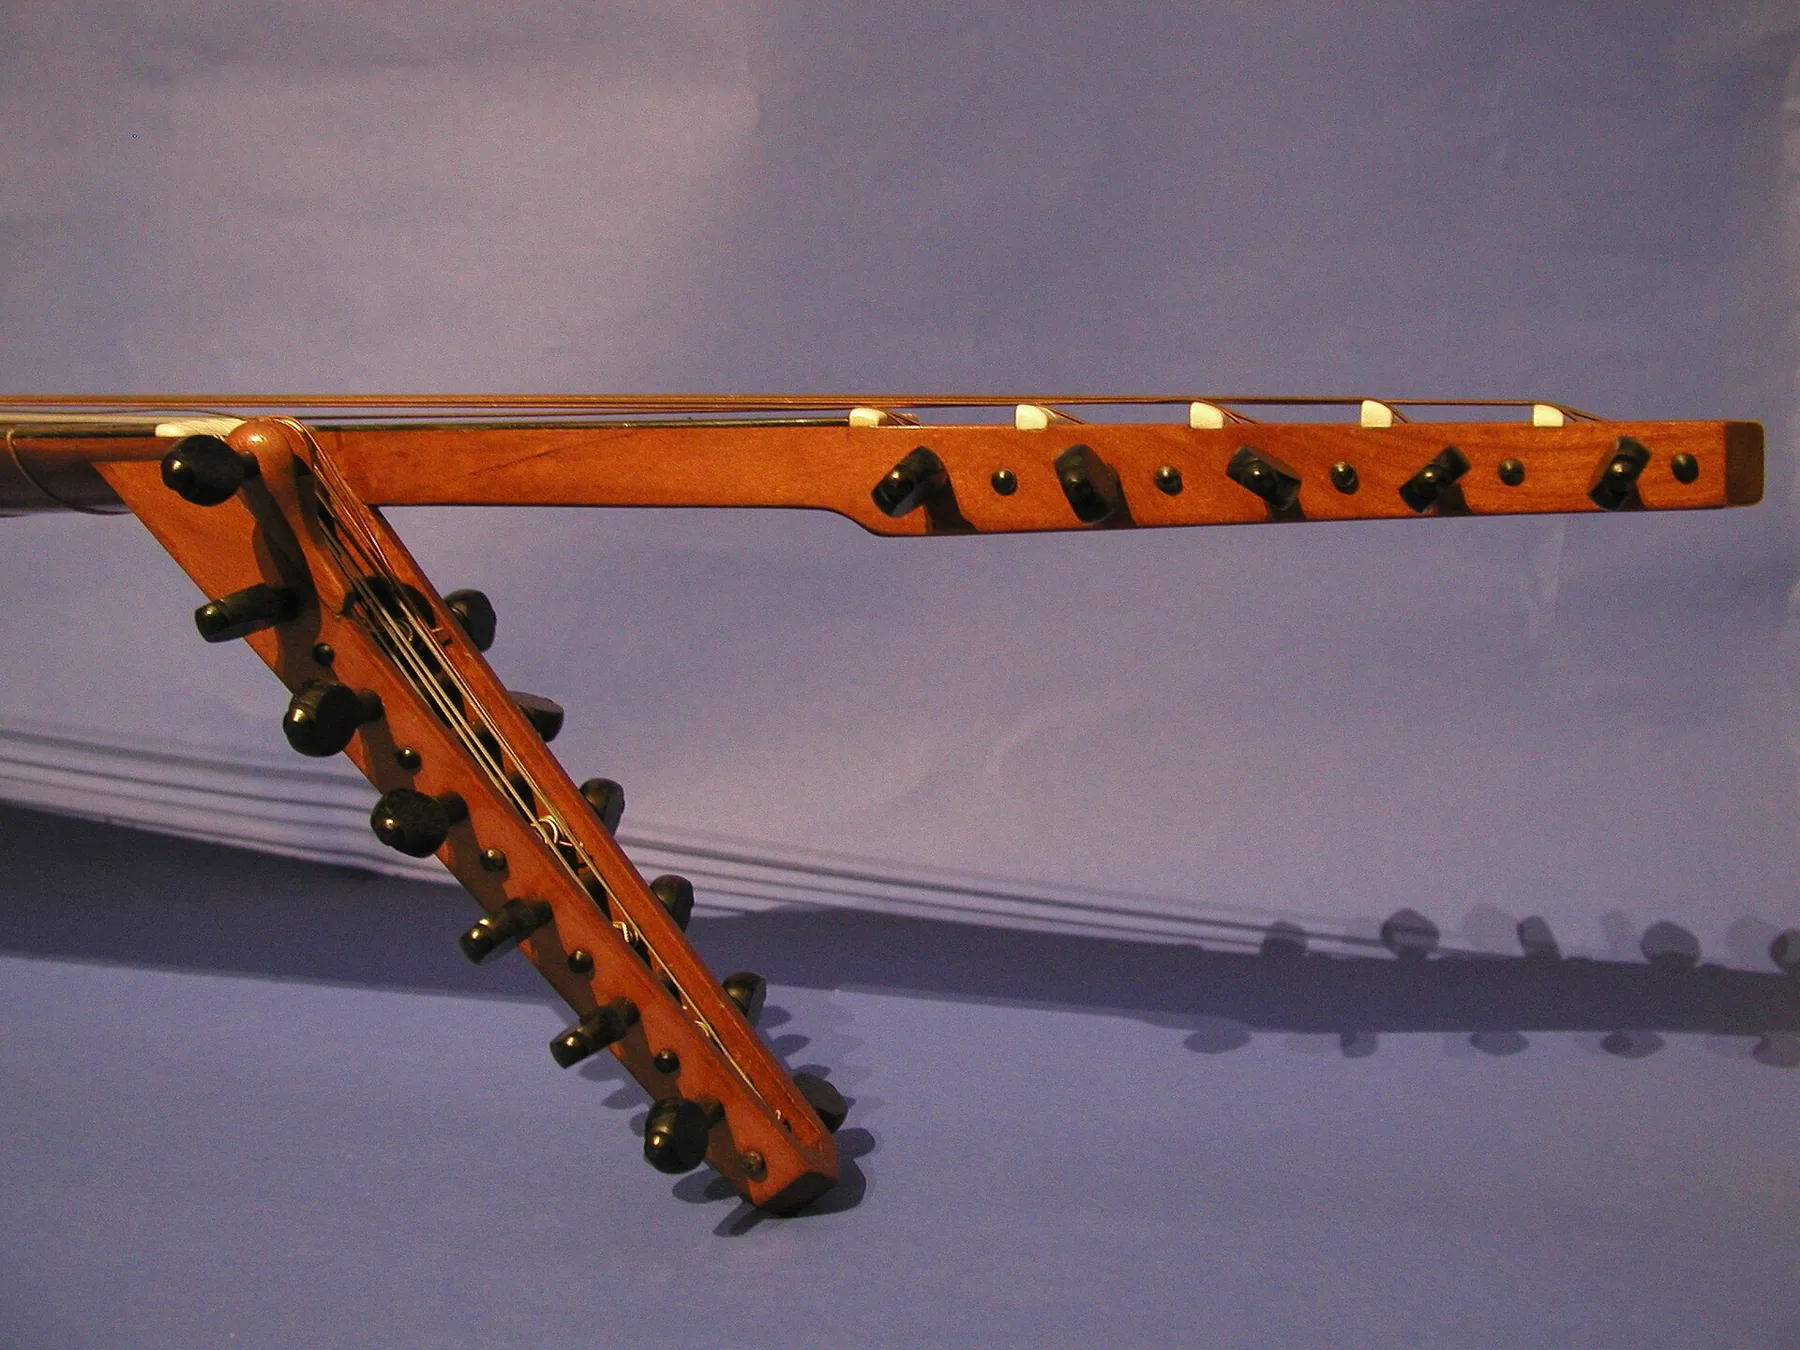
Why replace strings?
Over time, sweat and humidity wear strings down. They oxidize, lose their responsiveness and frequently slip out of tune.
This guide describes a clear way to change them while protecting the wood and bridge. The aim is to keep the sound stable and preserve the instrument.
The article focuses on instruments with bridge pins and draws on established practices similar to those used for the guitar.
Common risks include scratches, pulled-out pins, twists and unsuitable tension that strains the wood.
The benefit: a careful string change improves tuning stability, tonal consistency and playing feel.
Follow this order: decide when to change the strings, prepare your workspace, remove them without force, clean the instrument, then fit the new strings and stabilize the tuning. Good technique and the right tool protect the instrument better than force.
For additional advice on tuning and keeping the pegs secure, see this practical article on tuning the oud, which explains useful principles.
When and why to replace your lute’s strings
Sound quality often declines before wear becomes visible. Listen for reduced sustain, treble notes that sound flat and bass notes that turn dull. These changes often appear before a string breaks.
Visual and tactile signs: a string that turns green, feels rough or has damaged winding is showing clear signs of wear.
- Greenish marks or spots on the string.
- A rough feel or broken winding.
- Grooves where the string meets the frets and frequent tuning problems.
Consider these symptoms alongside a typical replacement schedule: every two months is a useful guide for an amateur musician. Professionals may change strings every two weeks; others keep them for up to six months, depending on playing habits, sweat and humidity.
“A new set provides more even tension, helping the neck and bridge remain stable.”
Cost and sound: replacing one string is a practical fix after a break. For an even tone in a concert or recording, replace the entire set.
Next, we explain how to prepare your workspace and choose tools that let you work without damaging the wood.
Prepare to protect the wood, neck and bridge
A stable workspace prevents many accidents and protects the finish. Set the instrument on a firm support, such as a cushion or thick towel. Protect its surface with a microfiber cloth and clear the surrounding space so nothing falls onto it.
How to avoid scratches: remove jewelry and your watch, work away from the edge of the table, and always place tools and pins on the cloth so they do not rub against the wood.
Essential tools include a string winder with a notch for removing bridge pins, wire cutters if you plan to cut the strings after fully loosening them, and an electronic tuner to control tension as you work.
| Tool | Use | Why it helps |
|---|---|---|
| String winder | Remove and replace bridge pins | Provides controlled leverage that limits slipping and protects the pin |
| Wire cutters | Cut a string after loosening it | Use only when the string is slack to avoid damaging the neck |
| Electronic tuner | Monitor string tension | Allows gradual, safe tuning |
When choosing strings, check that their tension and gauge are compatible with the instrument. Do not put steel strings intended for a folk guitar on a classical guitar: the tension can warp the neck and pull the bridge away from the body.
Practical starting point: if you are a beginner, start with a medium gauge. Arrange the new strings in order before fitting them, and tune gradually to avoid placing sudden stress on the instrument.
For advice on choosing sets and tensions, see this guide to choosing strings. Next, we explain how to remove strings without twisting them or pulling sharply at the bridge.
Change a lute’s strings without damaging the bridge
Start by gradually loosening each string until it is completely slack. Loosening strings before cutting or removing them reduces the risk of a string whipping against the soundboard or pulling out a pin.
Fully loosen the strings before handling them
Turn the tuning machines slowly, one string at a time, until there is no tension left. Never cut a string under tension: the released force can mark the soundboard.
Remove the strings at the headstock without bending or twisting them
Guide each string as it comes away from the headstock without bending it. Avoid twisting it as you remove it from the tuning machine’s hole. Careful removal preserves its usable length and service life.
Release strings from a pin bridge with a string winder
For bridges with pins, use a string winder with a pin-puller notch. Position the notch and apply leverage gradually, without jerking. Do not use pliers or a screwdriver: they can slip and scratch the soundboard.
Keep each pin properly seated and in its place
Check each pin’s orientation: its slot should remain aligned. Return each pin to its original position so it keeps its fit. Arrange the pins in order to make reassembly easier.
Good practice when changing every string
If you replace all the strings, do not leave the instrument without tension for too long. If you need to pause, loosen the strings slightly but maintain minimal tension to preserve the instrument’s balance.
| Step | Action | Why it matters |
|---|---|---|
| Loosening | Loosen each string with its tuning machine | Prevents whipping and protects the soundboard |
| Headstock removal | Remove strings without bending or twisting them | Preserves them for possible reuse |
| Bridge removal | Use a string winder with a pin-puller notch | Lifts pins gradually without slipping |
| Storage | Keep the pins in order | Makes reassembly easier and preserves their fit |
Clean and maintain the instrument while changing strings
With the strings removed, the fingerboard is easy to reach for maintenance. Take the opportunity to clean it carefully and prevent premature wear.

Care for the fingerboard and areas around the frets
Use alcohol only on unfinished fingerboards: use diluted denatured alcohol only on rosewood or ebony. Apply it with a soft cloth or paper, concentrating on the areas around the frets where dirt collects.
Condition the wood
Apply a small amount of linseed oil, let it soak in for a few minutes, then wipe away the excess with a clean cloth. This conditions the wood without leaving a sticky film that attracts dust.
Finished surfaces and tuning machines
For finished surfaces, choose a suitable polish instead of alcohol to avoid dulling them. Also check the fastenings, screws and tuning machines: a slightly loose part can create unwanted noise and shorten its service life.
“Regular maintenance extends an instrument’s life and helps it stay in tune.”
| Task | Product | Why it helps |
|---|---|---|
| Clean the fingerboard | Alcohol for unfinished fingerboards | Removes dirt and deposits around the frets |
| Condition the wood | Linseed oil | Conditions the wood without leaving a greasy film if the excess is wiped away |
| Care for the finish | Specialized polish | Protects and restores shine without harming the finish |
| Check the tuning machines | Screwdriver, cloth | Prevents unwanted noise and loosening for better stability |
Hygiene tip: wash your hands before bringing the new strings up to tension, and wipe the instrument after each use to extend the life of the strings and guitar.
A clean instrument is ready for careful restringing and reliable tuning. For seasonal protection advice, see this practical guide to protecting your instrument in winter.
Fit new strings and stabilize the tuning
Fitting a new set takes a methodical approach: first place the string end in the correct position at the bridge. Push it in until you feel the ball end seat, insert the pin, then gently pull the string while pressing the pin down to secure it.

Visual check: make sure the pins do not lift as tension increases. If a pin moves, press it back down before turning the tuning machine.
Set the string length before winding to avoid problems. Leave enough excess for three to four wraps. Too little length causes slipping; too much creates crossed wraps.
Winding and increasing tension
Wind the string neatly, without overlapping wraps, toward the bottom of the tuning post. Aim for three to four even wraps.
Increase tension gradually: tune approximately at first, then refine the pitch with an electronic tuner. Gently pull each string several times to help it settle.
Final adjustment: retune until the tuning stays stable, trim the excess string neatly, and check the pins and tuning machines one last time. For more on guitars, see this guitar guide.
Conclusion
: careful technique reduces the risk of damage and extends the instrument’s life.
Practical summary: identify wear, prepare a clean workspace with suitable tools, loosen and remove the strings without force, clean the fingerboard, then fit the new strings carefully.
To protect the bridge, remove the pins carefully and avoid unsuitable levers that could mark the soundboard.
A string that is free of twists, wound neatly and brought up to tension gradually stays in tune better and lasts longer.
If the sound loses responsiveness, oxidation appears or the tuning becomes unstable, plan a string change. Wipe the strings by hand after each session, keep a dedicated cloth and check their condition every two months according to use.
Result: a well-maintained instrument—including its neck, bridge and tuning machines—remains stable, pleasant to play and reliable in rehearsal and on stage.